Cobra(JET) Conversion Part 1
Earlier in the year, I decided to take a chance on competitions again. To summarize, after many many scale model shows, I had been discouraged by the usual IPMS crown and their biases or aversions to certain subjects and decided I did not want to attend any longer. Now not to say I didn’t win anything ( I did) but it was such a divisive group that I felt ideas and creativity weren’t able to fully flourish.
Fast forward to present day. At the beginning of the year I made two commitments. 1: To reach more subscribers and followers during the year, and 2: to enter or try out in some online competitions. Now these are challenging in a few ways but the most pressing concerns are that you have on average 8 weeks to start a build, the other is that you don’t know what the theme will be until a week or a few days out. This is challenging because when I find a subject I want to replicate or do, I start the laborious process of acquiring all the necessary bits needed. This can normally take some time so my stashis normally quite small. Knowing that I am a slow builder it is also a challenge because I can’t spend the same time I normally would on a client or personal build, leaving some details non existent or completely missing.
The base kit, Revell’s 2014 Mustang GT. I would recommend if you are doing something similar to use the boss 302 kit as a doner for the headlights and separate chassis details.
In the photo above, you can see the standard kit along with the extra aftermarket parts. The wheels were from Texas 3D Customs, while the decals came from some obscure Chinese shop on eBay.
Most of the plastic is moulded in white. Problem was that I wanted to paint by CJ in white so alot of careful attention had to go into planning fillers and primers in order to hide the work I was doing and keeping everything clean.
The usual problems with any injection moulded kit were present, most of the modifications required alot of material removal. The 5.0 badges on the front fenders needed to go but most annoyingly the rear spoiler was moulded in and needed to go as well.
What I started to dop was go around the bigger parts and began marking what required removal with a black sharpie. The hood vents were getting opened, exhaust tips, spoiler, grilles, 5.0 badging. And that was only on the exterior. The engine bag was also going to be stripped as well as the interior.


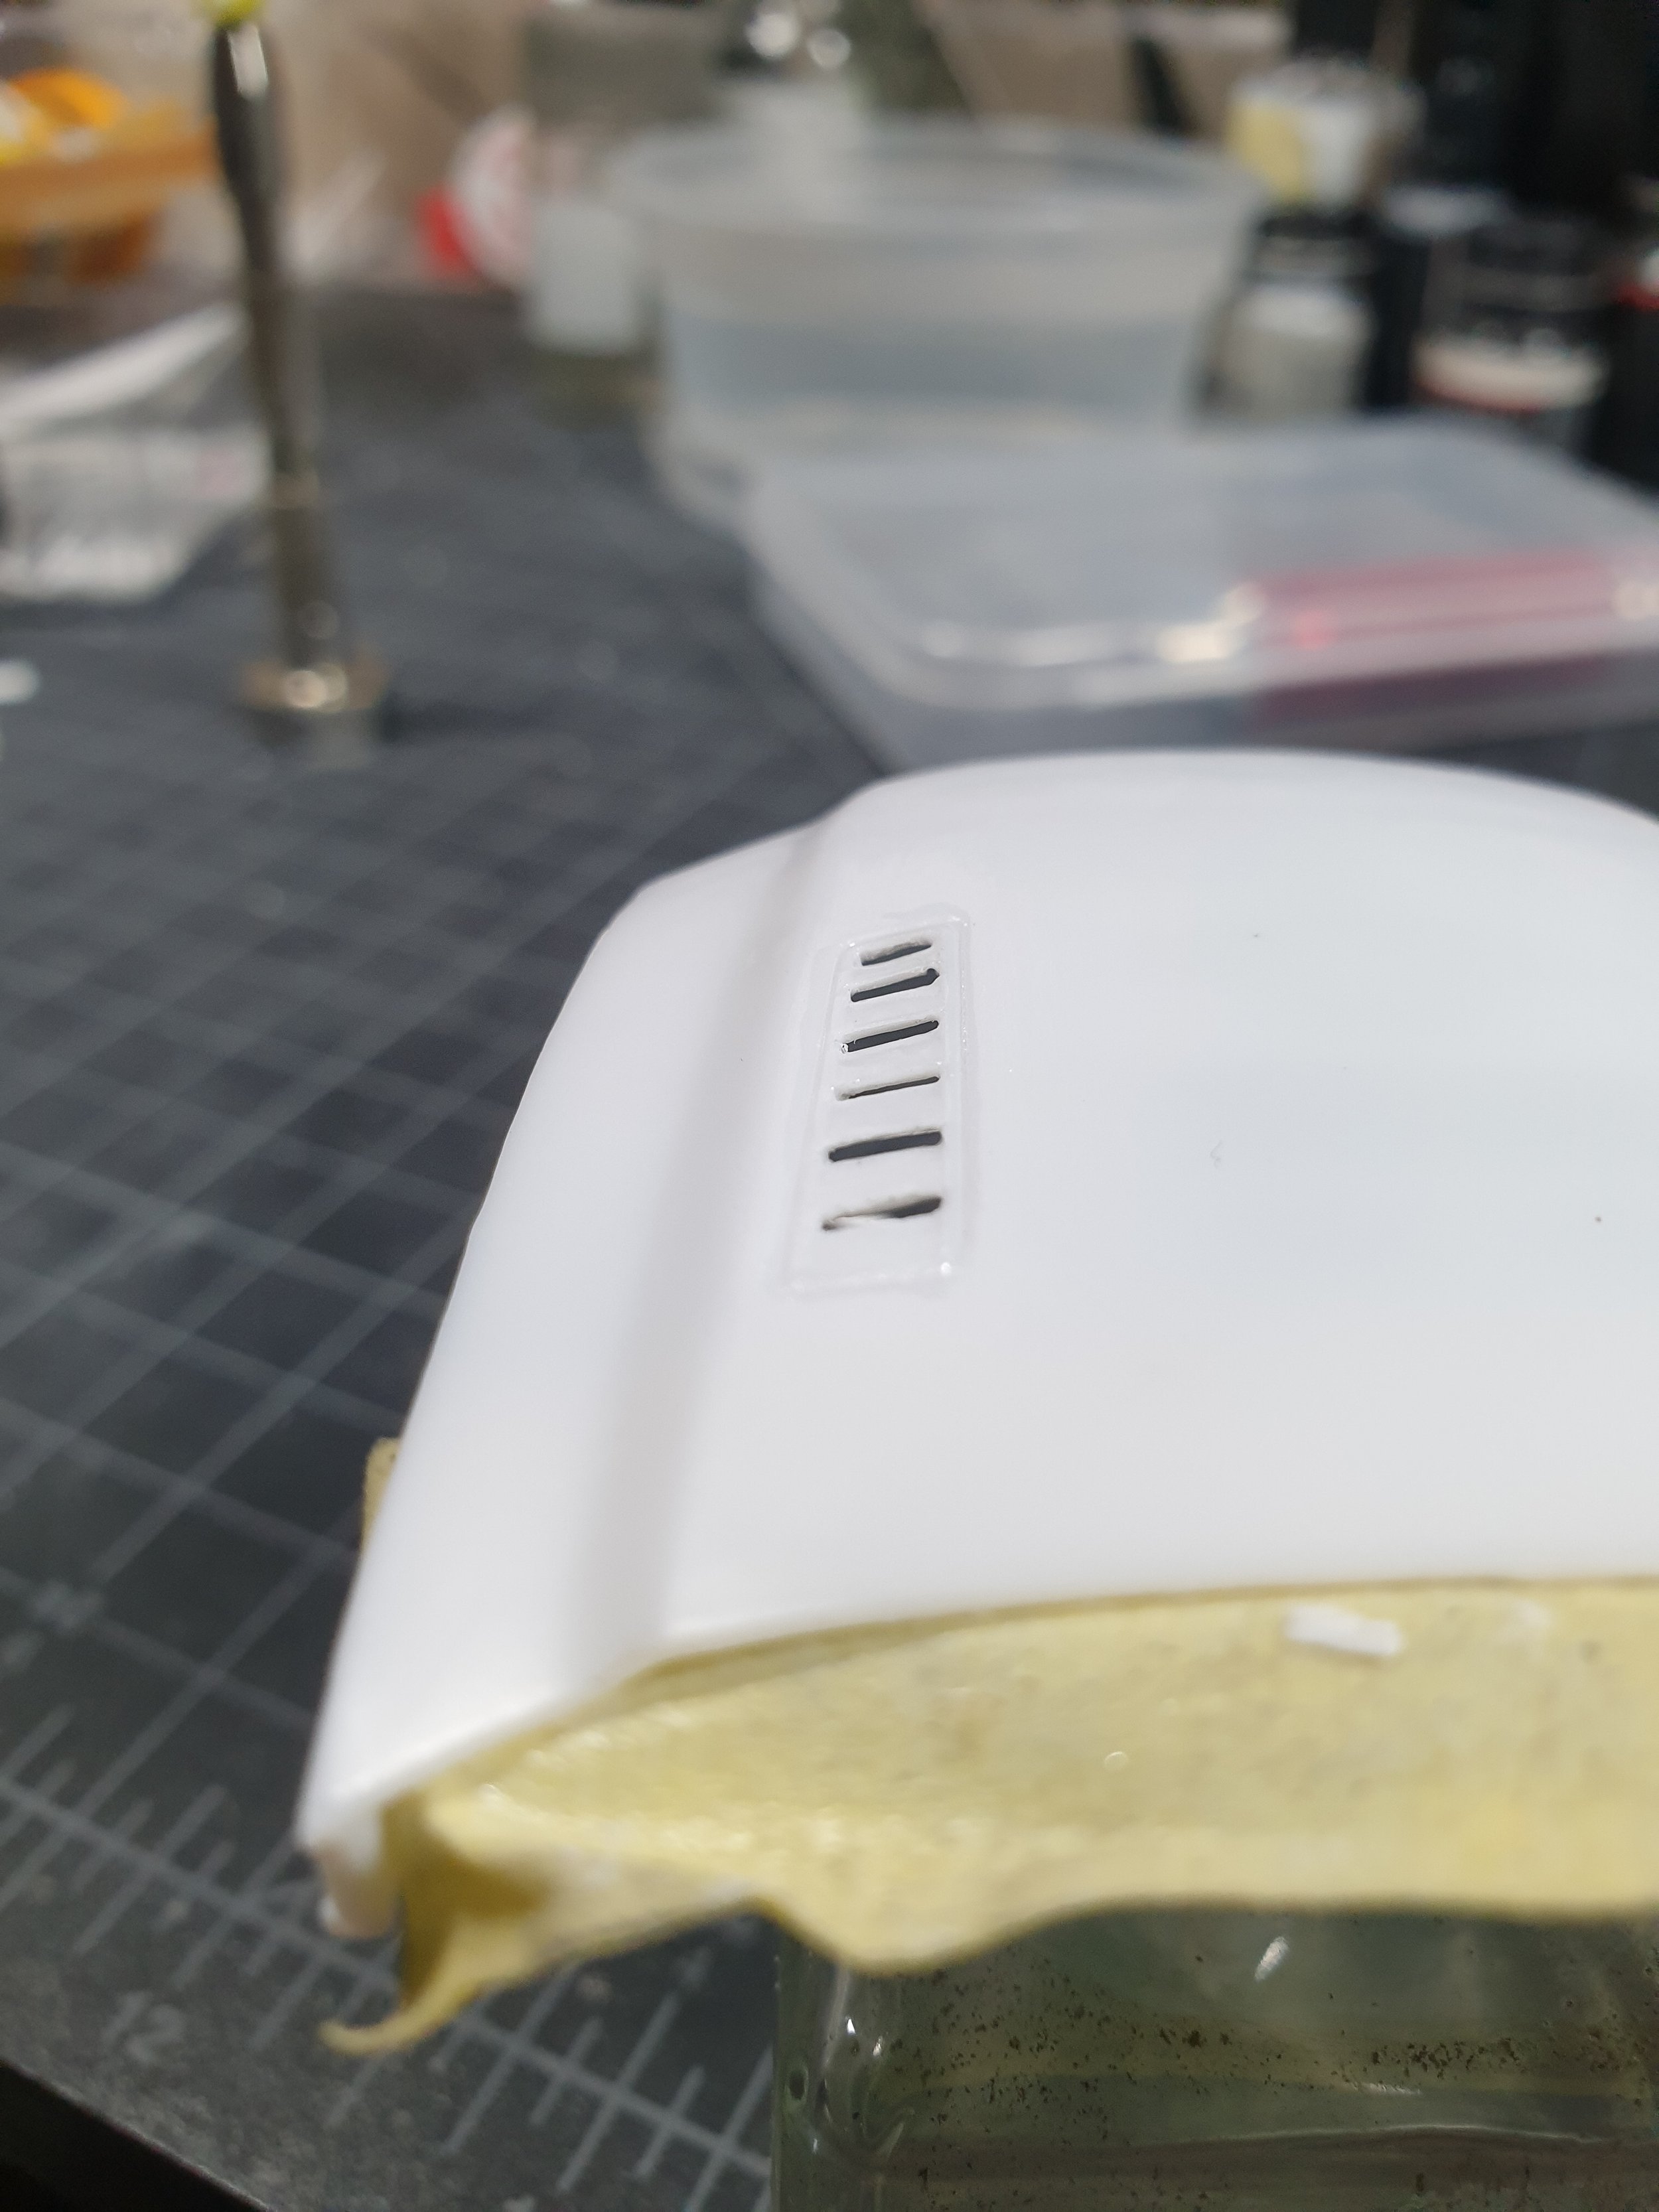
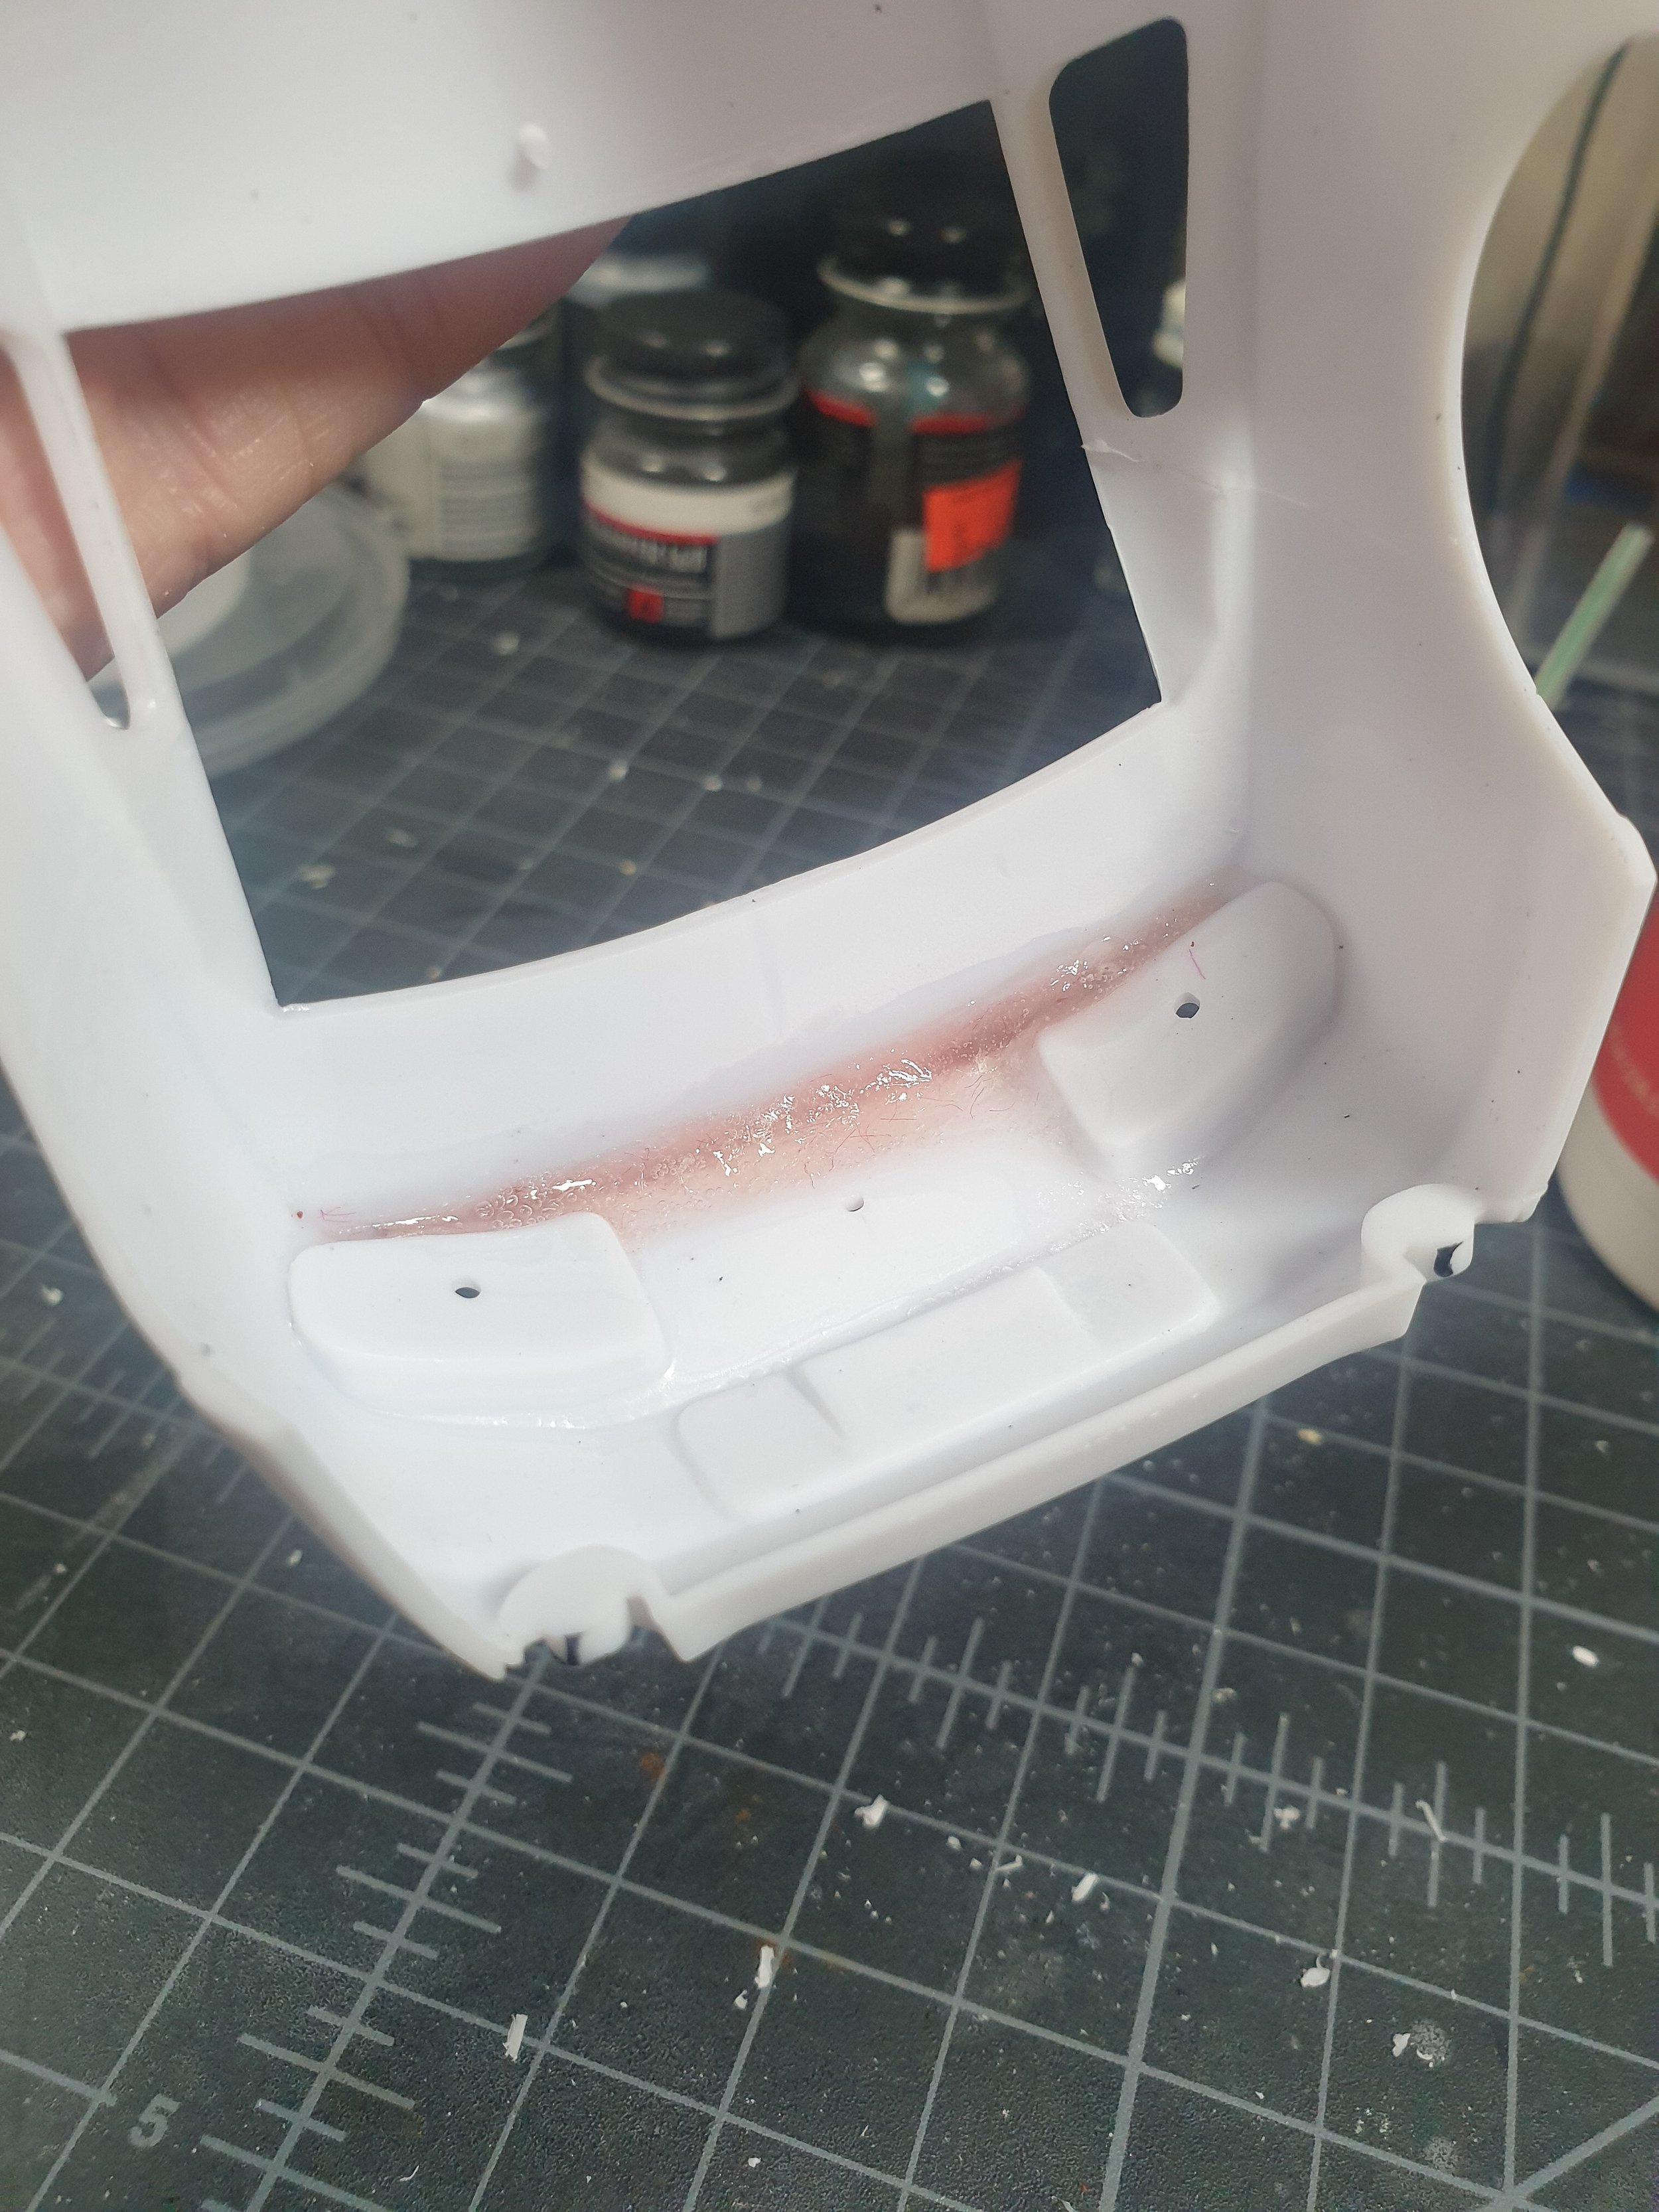
Honestly I felt a little overwhelmed by the amount of removal required to get is to a factory offered NHRA competitor. I began with the hood as it seemed the easiest part to begin modifications on. To start I thinned down the vent bulges on the underside of the hood to aid in scale thinness and make the next step less labor intensive A thin panel line scribe was used to slowly start opening up the vents from the top side of the hood. Quite a few .3mm HSS drill bits were sacrificed before I decided to simply scrape out the plastic.
On the body the spoiler was removed and underneath was backfilled to give some rigidity and base when it would come time for primer and paint. The fender badges were removed, along with the faux exhaust tips.
Now came time for probably one of the most dominating exterior modifications for the CJ Mustang, the front grilled. Originally moulded solid with cutouts for the fog lights, I removed the entire inlay in order to build the new insert.
The front chin splitter was also removed during the process of painstakingly placing 1x.5mm strips in place on the upper and lower intakes to replicate the one on the real car.
The next big undertaking was to make the vented side windows aft of the doors. So I matched the inner curve radius with a drill bit and then carefully sawed the dots to connect.
I quickly threw down a coat of MS1200 grey to give myself better contrast of the louvres and began to insert the 0.20mm strips into place. These had to be done one by one as the edge of the inside of the window slants towards the outside of the car and the strips had to be inserted from the outside. Most of the strips were of a rhombus like shape.
While the glue dried on the louvres, I took the opportunity to sand the rest of the body with a stiff sponge backed 1000G wet. This helped to reveal the many body flaws that were present on the kit and the deeper scratches unseen when removing all of the badging and other parts.
Before proceeding to paint it was time to start on the other parts of the car. I’ll show you what went into the chassis in part 2.


