Fired UP!
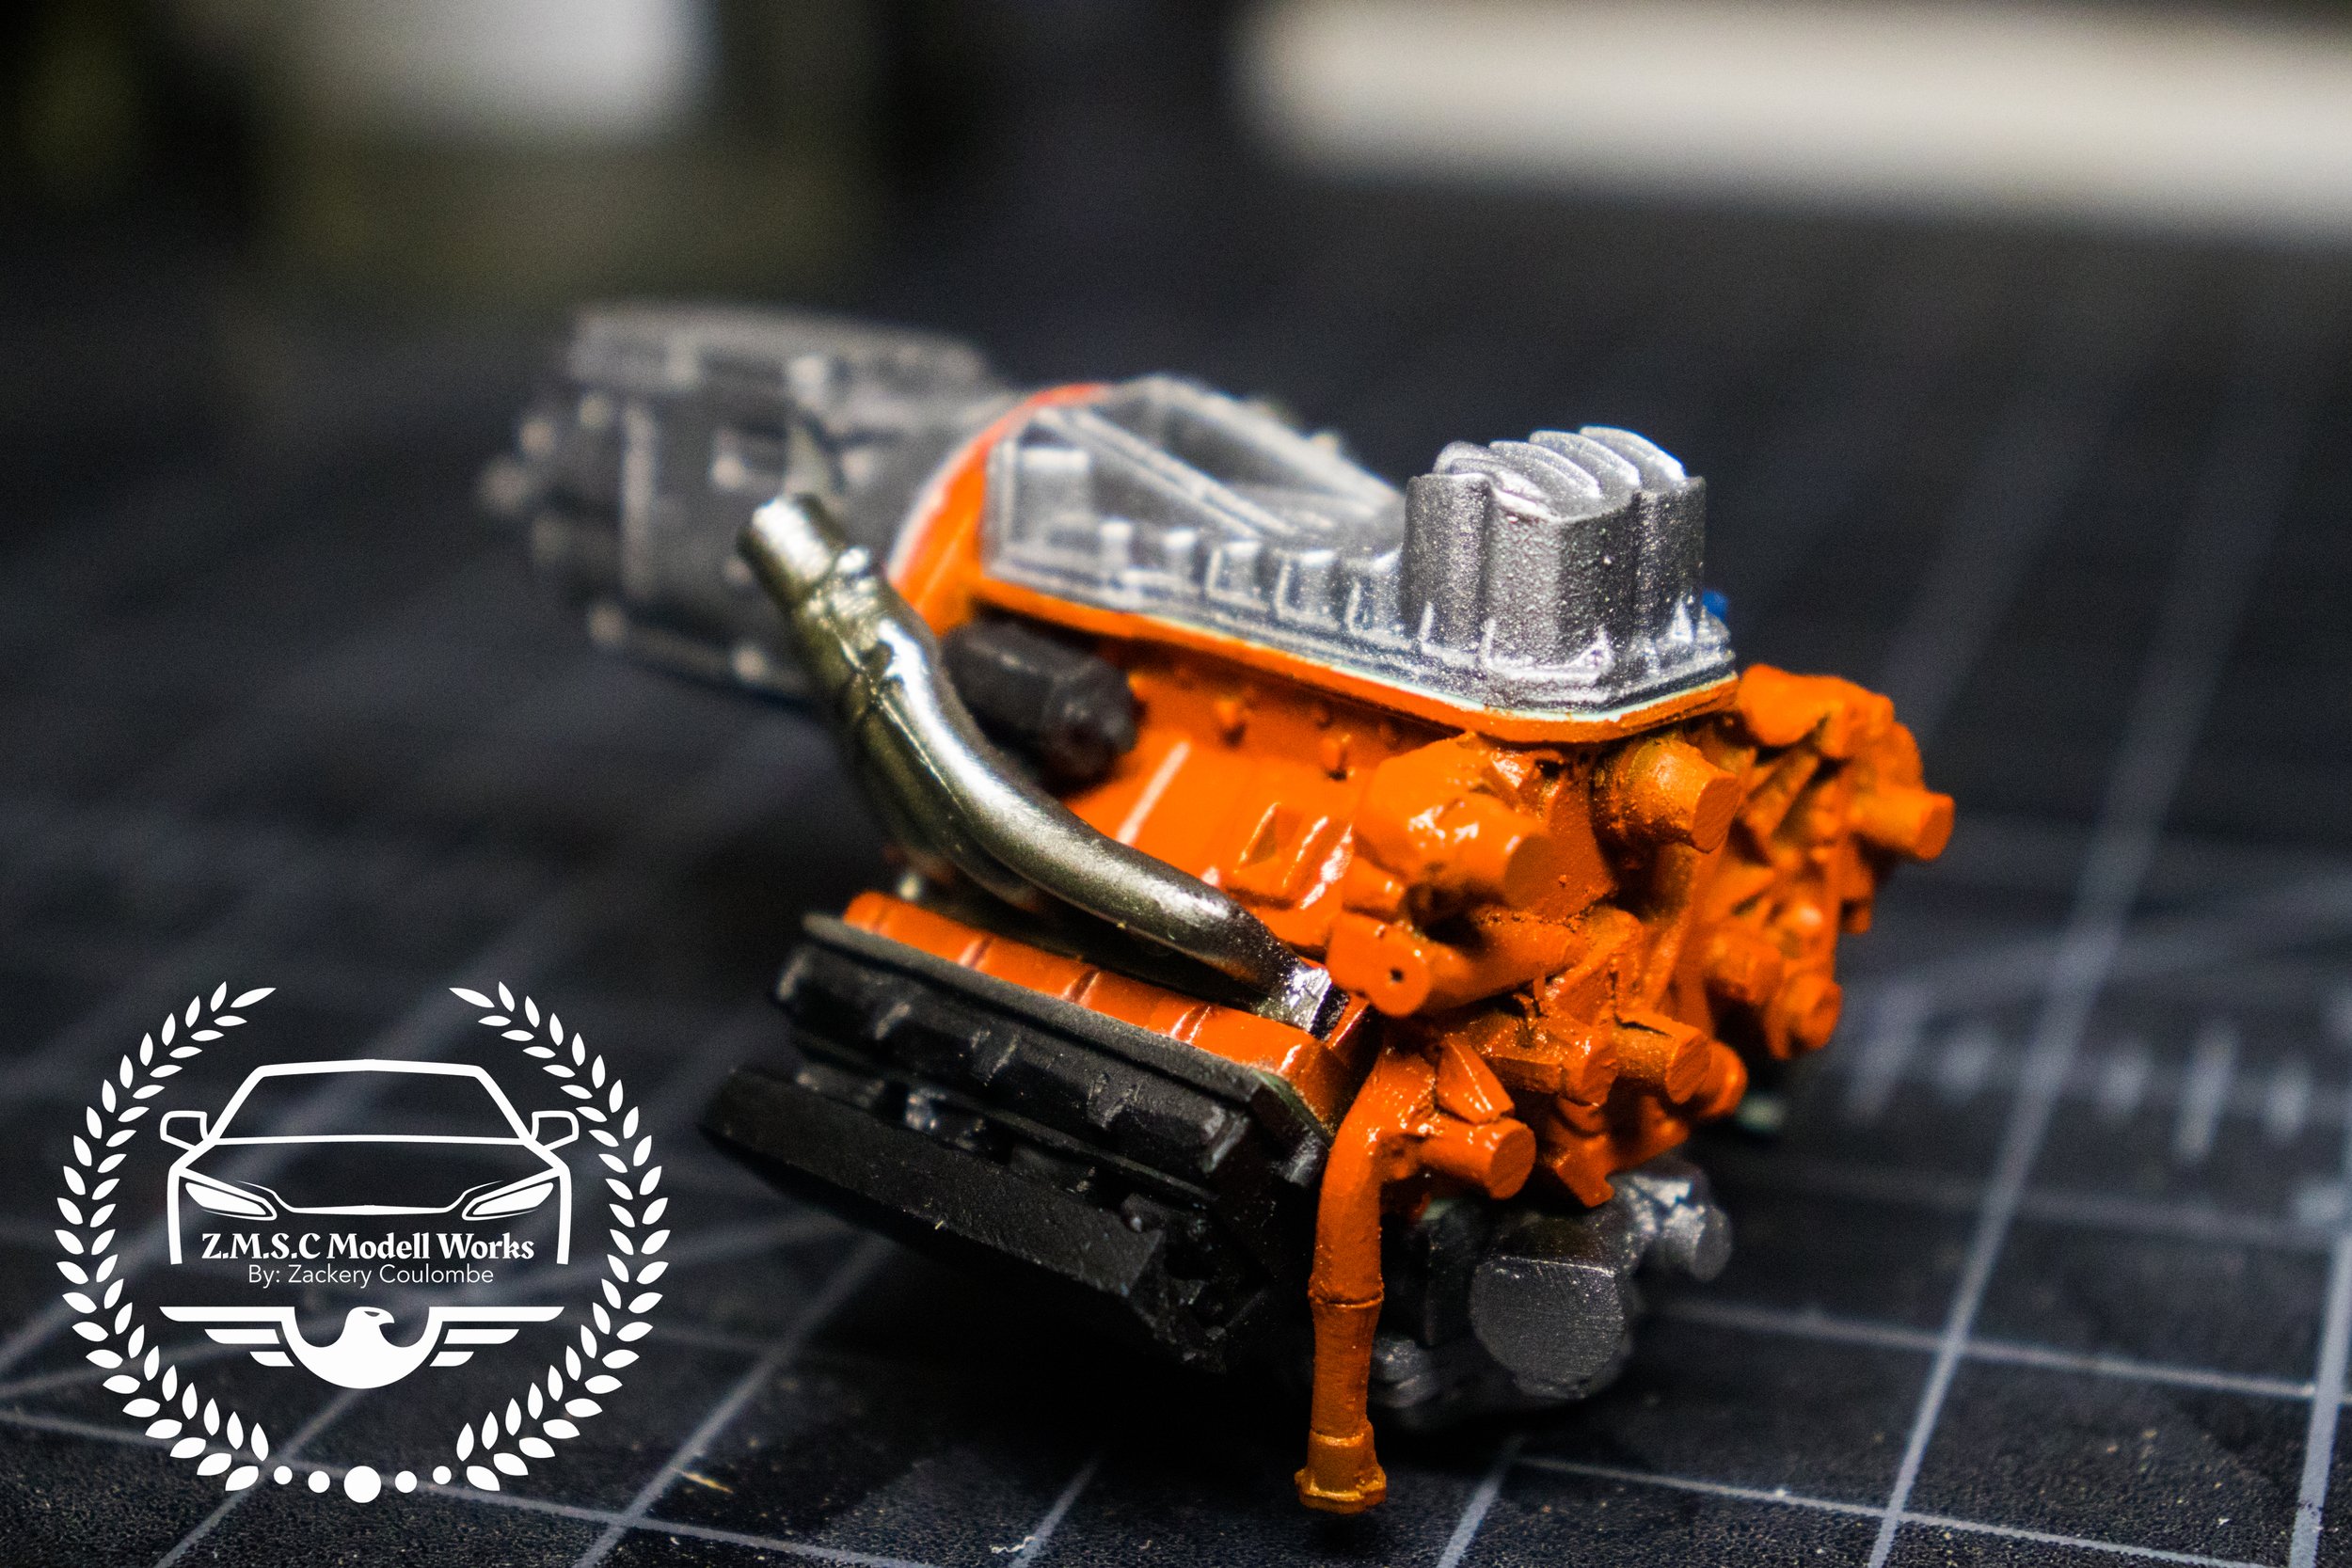
Last piece of the puzzle is the of course the engine, and honestly it could be better. While its not bad by any means, there is clear indications that this is not a 3D model, it is a hand build master that has been recast in a mold using Clearly Scale’s signature green resin. There are other Hellcrates on the market, most are in fact copies of BlackBox STL’s Hellcrate Hemi available for purchase on Cults3D. So if you have a 3D printer and want one ( probably the best model at this time then I encourage you to go there first and get it. Otherwise if you lack a 3D printer you have many many places that offer it already printed. Be careful as some sellers may be using a lower quality printer which when printed en-masse at a rapid rate will incur visible layers.
Food for thought, but we will carry on with the one provided by CS.
The Hellcrate comes will all the necessary parts to assemble a factory crate engine with an extra set of pulleys and belts as well as a clear cast fluid reservoir. Assembly is required and the inexperienced among you may find it daunting but a quick google image search should lend itself helpful in identifying where each part goes and how it is orientated. After it is assembled, its a drop fit into the ‘09 Challenger kit with some minor material removal from the engine deck/ interior tub. Instruction to which are all written and shown in CS’s instructions.
I decided to paint my Hellcat Hemi in…. you guessed it, Hemi Orange from Paint Scratch (if you are a lacquers person, color matched scratch touch up bottles are far cheaper than hobby brands, plus you know you’re getting a correct colour match). The transmission, bellhousing, oil pan and supercharger were done in Splash Paints Aluminum over Splash Paints Semi Gloss Black. Head covers and coil packs were done in the same Semi Glass Black. At a later stage in assembly I will do the alternator, A/C compressor, and oil stick in aluminum as well, just hand painted.
The exhaust headers were done first in the usual Splash Paints Aluminum over Semi Gloss Black, but then brazed over with a highly diluted Gold. The oil filter was done with Tamiya X-8 Blue, and the starter in Semi Gloss Black.
The coolant hose was finished off in Tamiya NATO Black, and the air filter box in a mix of flat and gloss black to replicate the plastic look. I find a 2:3 Gloss Black to Matte Black works best. This also happens to be a full pot of Mr. Surfacer 1500 Black with a full bottle of Tamiya X-1 Black. Which is great cause I never have to go looking or make the mixture every time, it just pre mixed and ready to spray. It flatter than a semi gloss but has a slight sheen over matte. A good idea if you plan on doing alot of factory interiors.
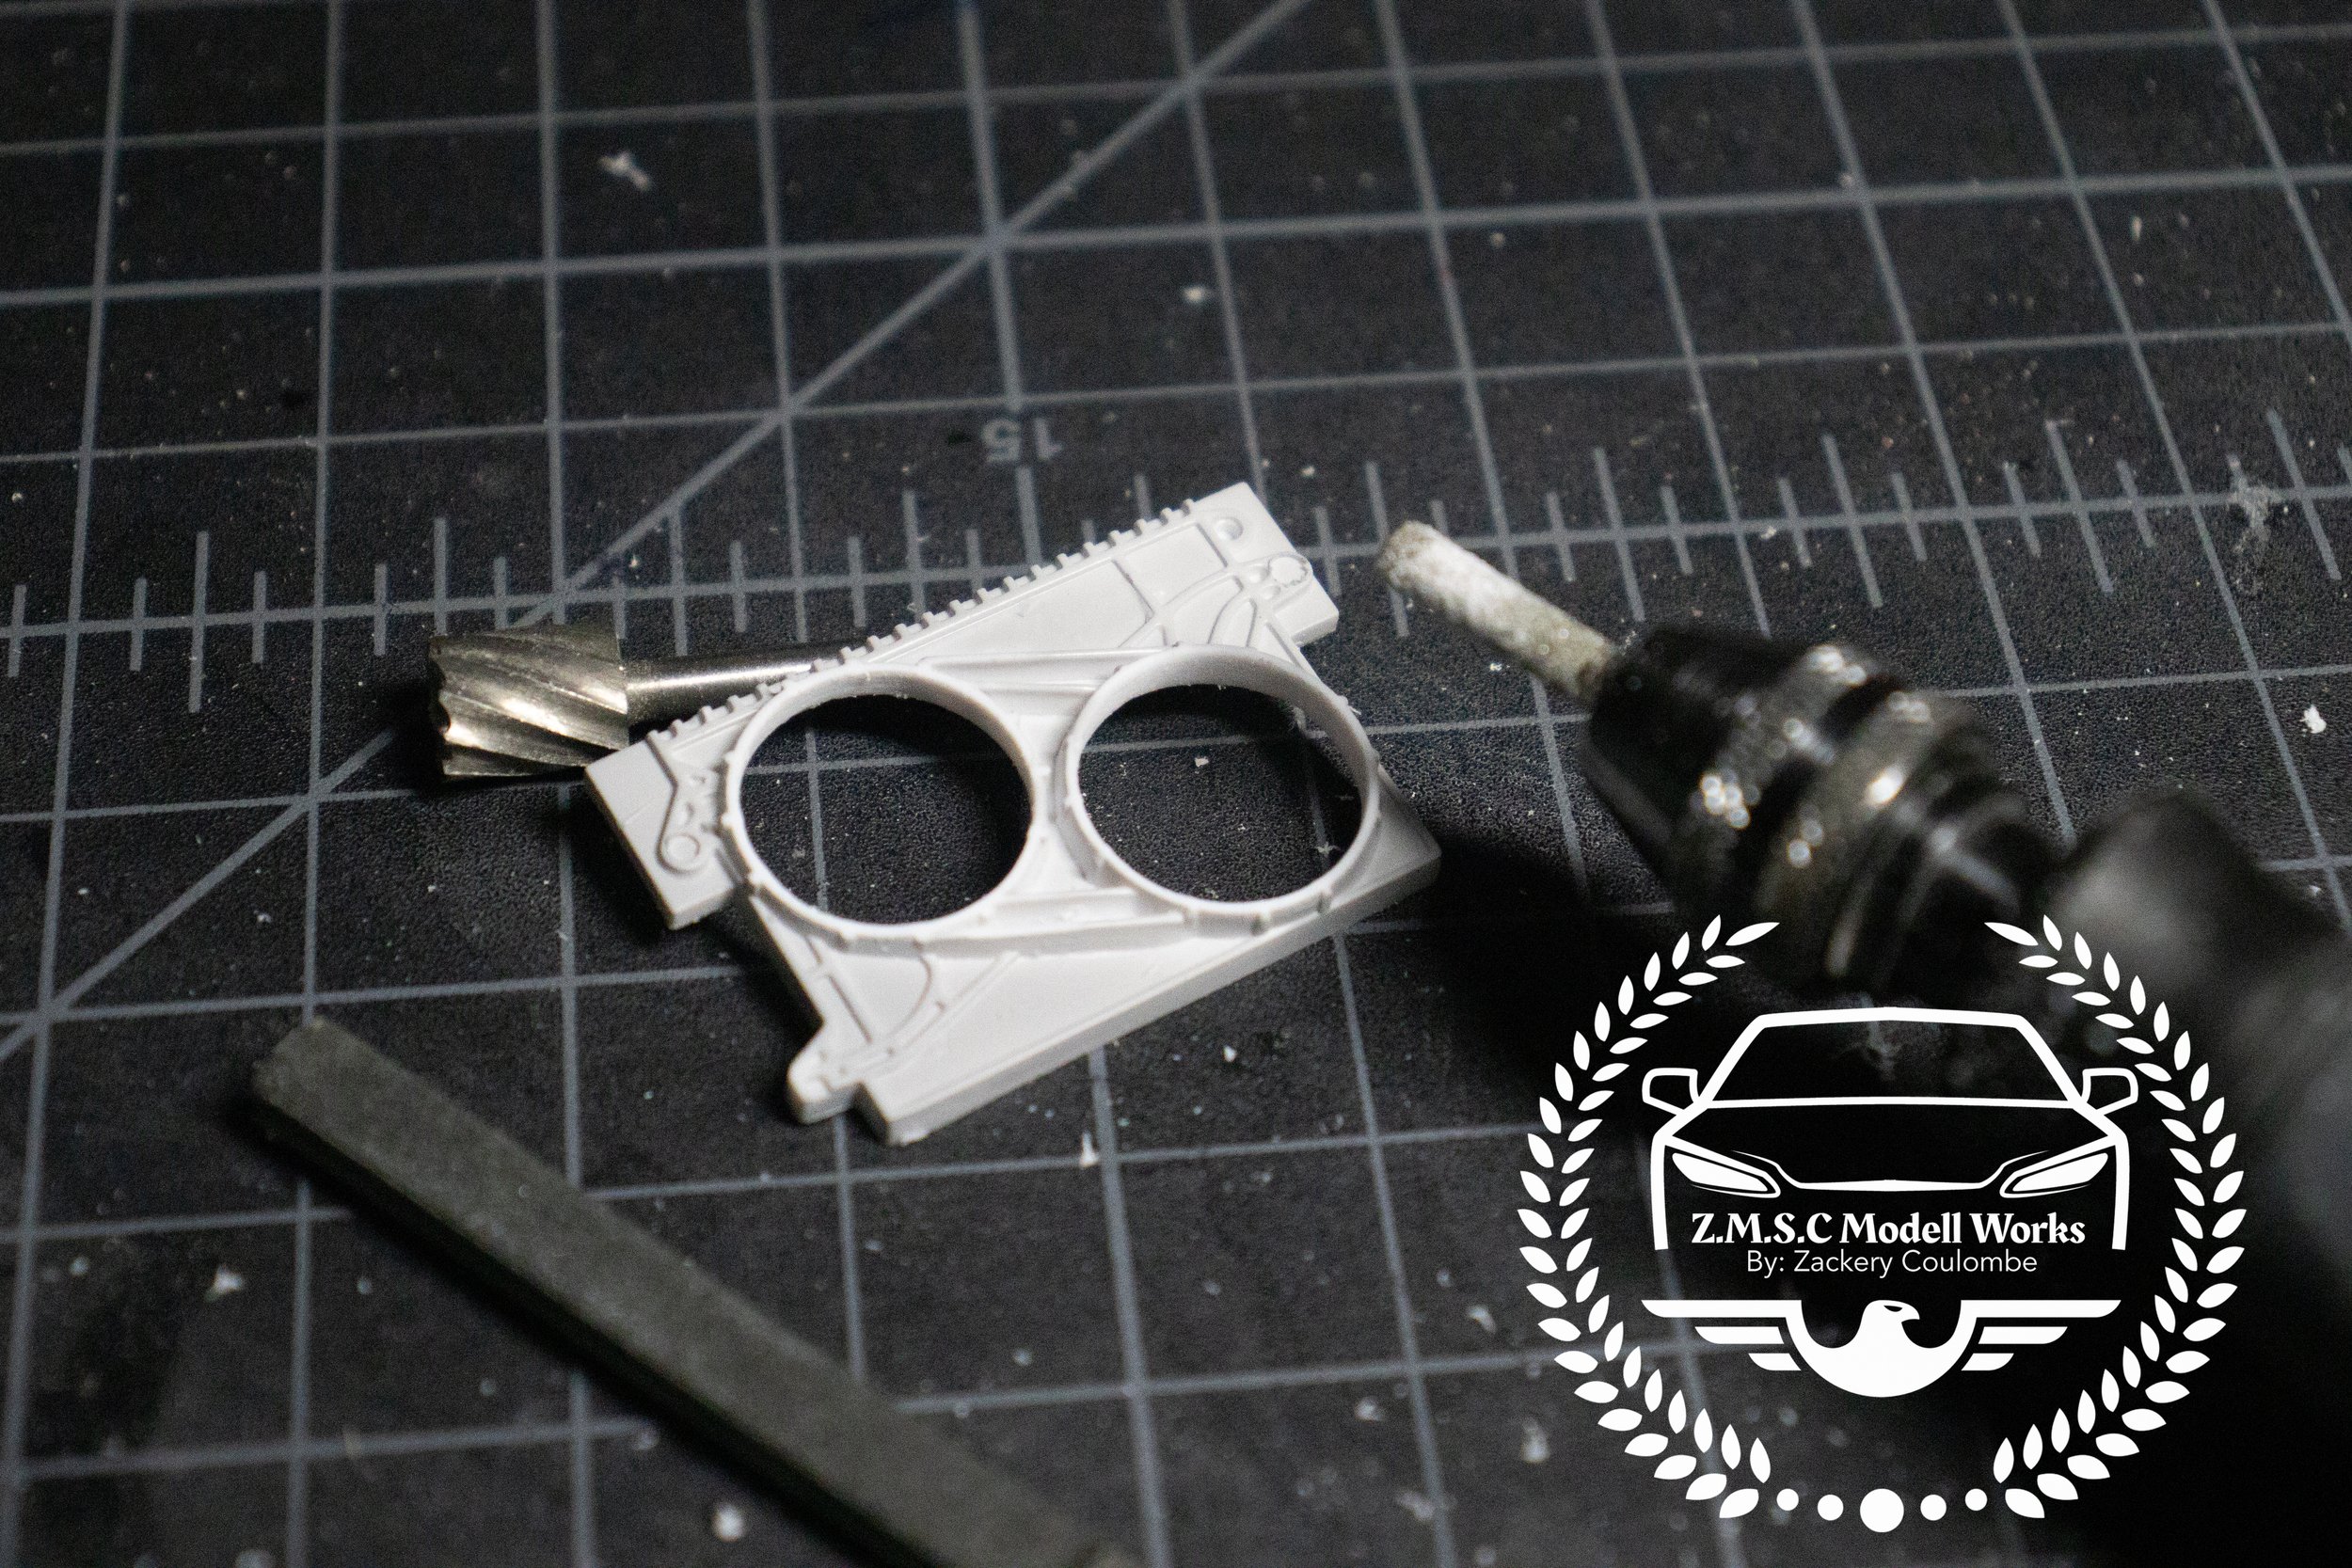
The sequence above is how I approached removing the molded fans to install the GW set. I started with the brutish work of snipping out the fans with a set of needle nose clippers. Then with a suitably size milling bit, I roughed out the rest before finishing it to size with a diamond burr. The GW fans are an assembly of 7 parts. It made sense to me to split it into two groups; the shroud and the fan. The shroud was assembled and attached first, then primed and painted Semi Gloss Black. The fan assembly was left in bare satin metal. As the stock radiator grill does not fit, the P.E one slips right into its spot.
The instructions call for the radiator to be moved 3mm forward, so I scribed a line 3mm forward of the front of the radiator and scraped away the paint down to the plastic. When I test fit the tub assembly, it just so happened to butt-up against the back of the rad assembly so I left it in place and secured it by placing a milled 2-3 block on top while I glued it in.
The drive belt assembly was affixed to the front of the engine and was placed in the stock location. This did require some surgery to the transmission brace under the car to fit. To my eye the bellhousing is a tad larger which added some length ( note you will have to trim the driveshaft as well). The exhausts also needed to be trimmed. because I didn’t check before I had installed my headers, I had to zip off my collectors just forward of the catalytic converters. To move that seam up in the future I would probably make the cut at the headers themselves.
That leans out the engine portion of the build. I hope you join me next time when we finally add all the little accessories and cage this kitty.


