The Brake Up
Now I have been singing some praise on the Clearly Scale Hellcat Challenger, that I wont deny, however the kit does have its shortfalls. Thankfully the Geronimo Works detail set comes in clutch to spice up many departments of the kit. This time we will be looking into the brakes.
On the left, the Geronimo Works set comes with 3D printed resin calipers and metal disks. It fits perfectly on a stock ‘09 Challenger but does need some modification to fit the Hellcat wheels offered from CS. On the right is the CS brake set, which while being direct drop in to mate the ‘09 Challenger kit to the new wheels, lacks the detail and crispness of even the OOB kit set let alone the superior GW set.
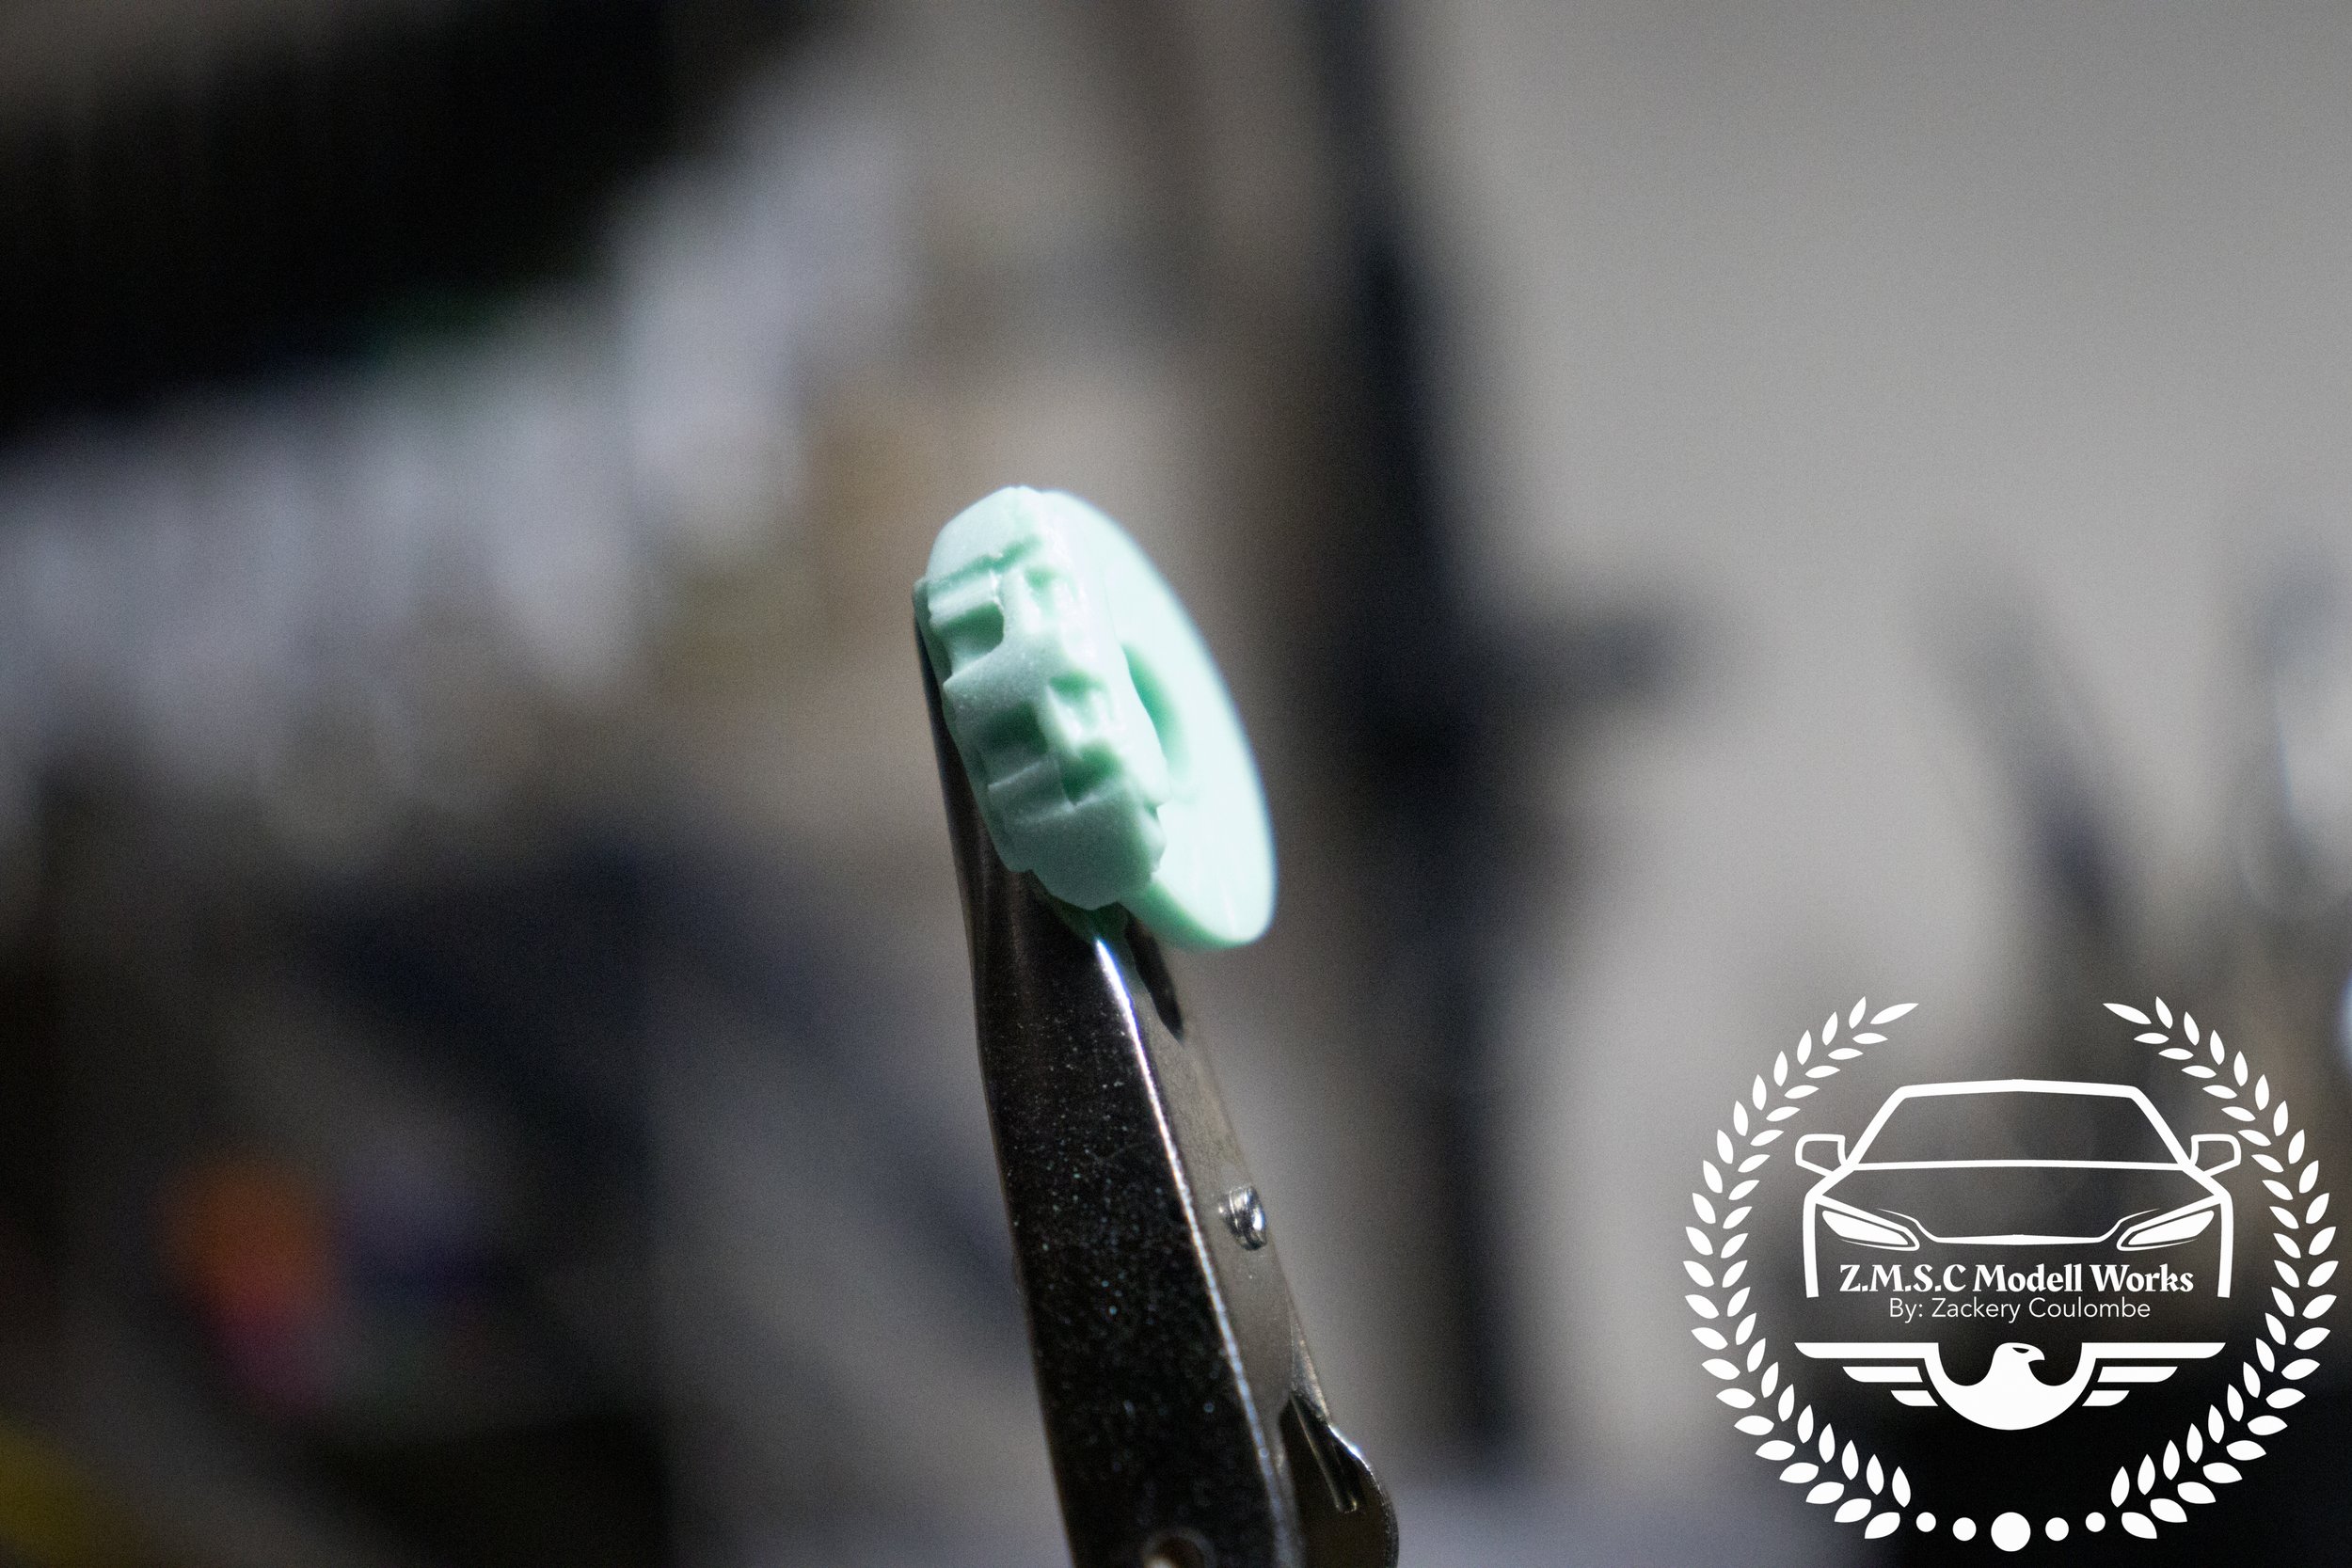
As you can see here under the macro lens, the CS brake set is a one-piece set with very little definition in the calipers, and less so on the rotors with the slots being either shallow or un-even in width or depth. To use these if you do not invest in the GW set, a great deal of finishing with a fine chistle or scriber will be needed to get them up to a sufficient standard in my opinion. One which I feel is unnecessary given other market options.
Compare that to the set provided in the GW set is like night and day. The inner vents are of a thicker plate which is nice and sturdy but just as easy to remove from the fret. Broke disk faces are slotted and crisp as you would expect with a good P.E. set. The brake calipers are some very nice 3D resin printed units without any layer lines that can be seen, which means that these were done with very high precision on a higher end machine. Also separate which means you don’t have to mask around the caliper on the rotor or hand paint it.
Now that we’ve finished comparing the two, lets get to building. I will be using the GW set for this build, but I will be assembling and painting the kit brakes as well as the CS ones to show a comparison.
I began by “wearing” the brake rotors. For P.E. brakes this is fairly simple to do with a Dremel and some two sided tape. Using a flat ended grinding attachment head on the Dremel ( for safeties sake please do not use a cutting head, your fingers will thank you), attach the tape to the flat side and stick a brake face to the tape. Alternatively if you can find some tiny, thin washers that don’t cover the face you can do that as well.
Once attached, at a low RPM, start with a finer coarse sanding stick/ paper, and work your way from say a fine 2000g to a 220 or lower. What that does is polishes the usual P.E satin of the metal making it look shinier ( brining attention to the detail), then the coarser grit will give it a worn look as if it was used.
As seen below, left is an assembled but unfinished rotor, the right after its “wearing” treatment.
This simple technique was borrowed by scale bike builders, often worn race bikes. As you can see and may agree, this process significantly improves the depth of scale tremendously when compared to a bone stock rotor.
Another useful trick to align the rotor faces and vents is to use a similar diameter dowel, or in my case a paint brush. A light coat of wax on the shaft will also allow you to glue everything together without it sticking. A light buff with some 400g sandpaper also helps create some grooves in which the superglue will stick better and have more bite.
And with everything now assembled we can compare the three brakes side-by-side. The Revell kit and CS were both painted with Ak Xtreme Metal Dark Aluminum on a gloss black base. All three had their calipers prime with MR. Surfacer 1500 Grey, then primed in Mr. Surfacer 1500 Pink and finally finished in Tamiya X-7 Red.
From left to right we have the Revell kit brakes, the Clearly Scale set and finally the Geronimo works metal/ 3D set. It pretty clear to be that the order of best to worst goes GW, Revell, and CS. While the Revell set calipers are not Hellcat correct and much smaller than the other two, they have significantly better detail than the ones offered from CS which after paint highlights its shortfalls ( and that was after 3 hours of TLC on the one brake). The GW brake far outperform either the Revell or CS offerings, and the metal lends us a hand in being able to further enhance the detail.
We have one more part of the build to finish and that will be the Hellcat engine from CS, I hope you subscribe and follow along when we go into building it.


