Light It Up
With the exterior at 98% we can wrap up the Hellcat’s outward appearance with the headlights and tail lights. With the older GEN 1 CS Hellcat kit, the entire tail light assembly was cast clear, but thankfully if you get your hands on a new GEN 2, it will come cast in clear red resin. Definitely saves time in the spray booth.
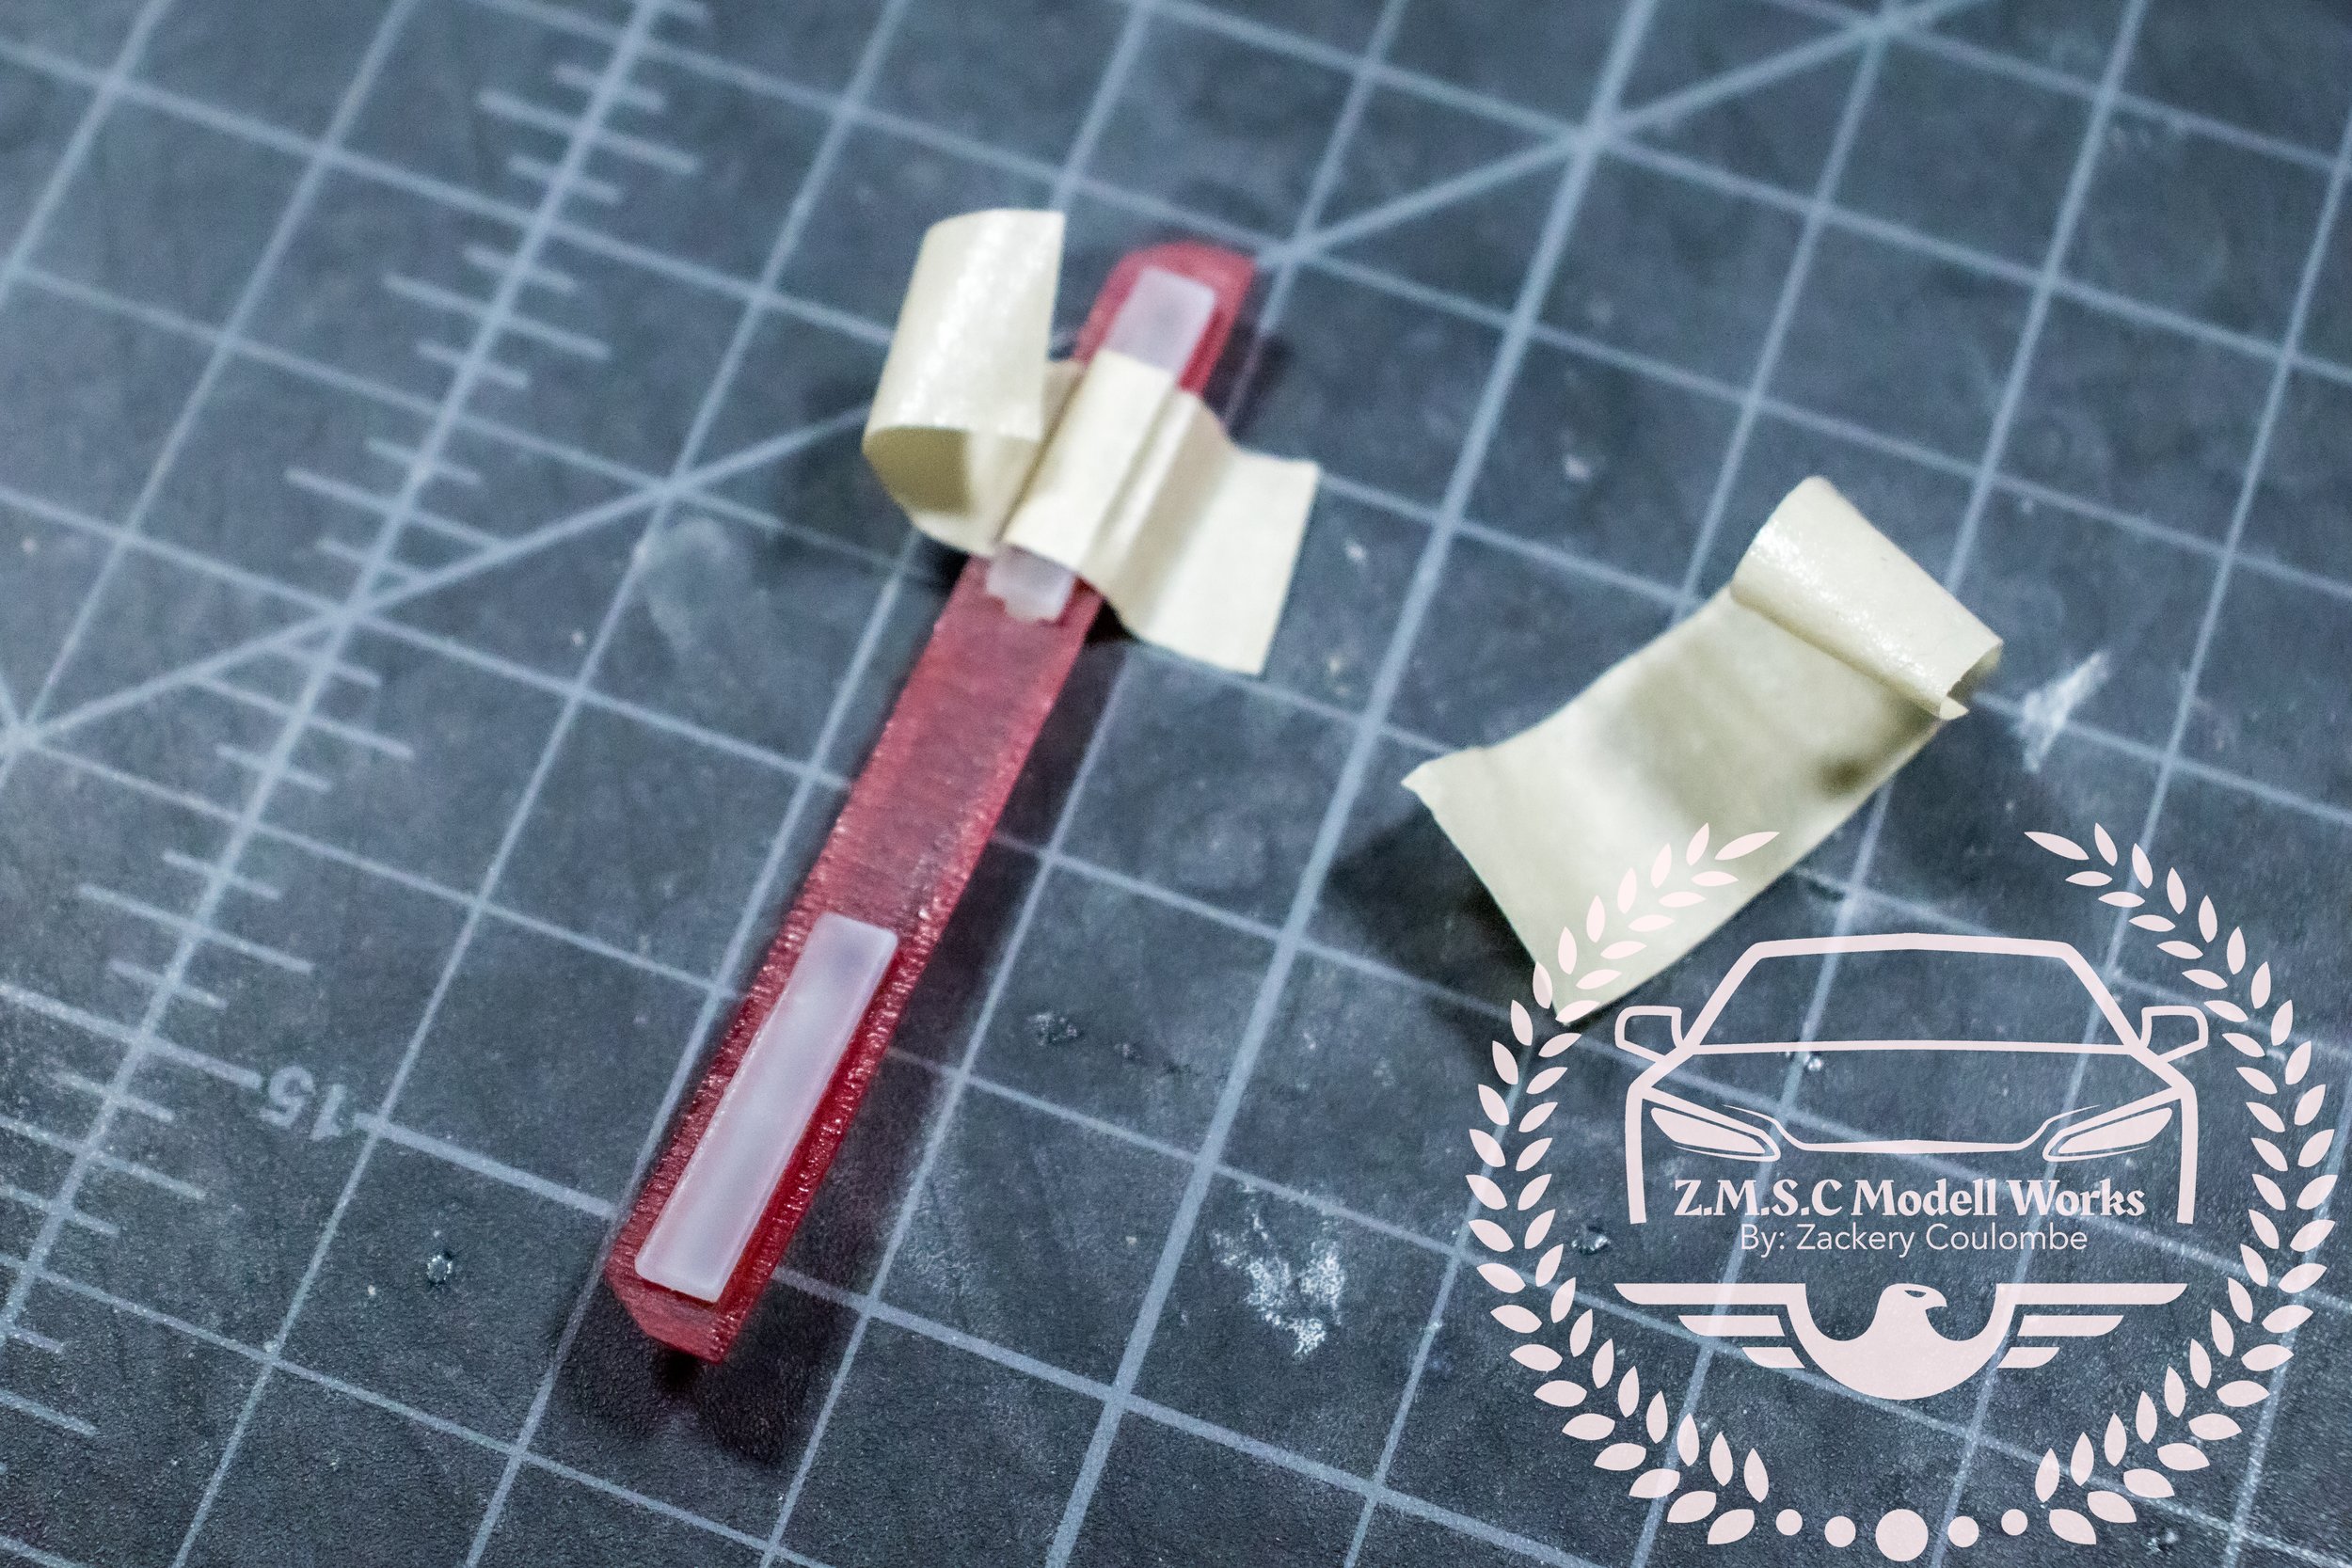
The tail light assembly comes in three pieces: the main outer hoop, and the two inner lenses.
These two inner pieces are inserted and glued from the back and didn’t require any sanding to achieve fitment. They were tight and accurate out of the box. The only downside to the resin is that it does come a little cloudy, so a quick buff with some medium compound can de-haze and get them looking solid.
After polishing and gluing, a quick silver chrome back drop gives the taillight assembly some depth. Again like the inserts, the entire assembly fits right into the stock slot without the need to sand and scrape.
Moving onto the front of the body now, the main grill and cheek inlets can be glued in, some minor sanding was required on the left most cheek inlet for me but I have been advised by Jeremy of CS that due to the casting process some pieces may deform un evenly to others and that they have all been sized slightly large to account for this and so the end builder can get perfect fitment on their own accord. It seems the right cheek inlet for me shrank enough that it fit without sanding. Lucky me.
Next up I installed the two inlets that replace the inner lights of the Hellcat. While the instructions state that most only had the one functional inlet on the drivers side and to block off the other, I decided to make things a little symmetrical and did not. My intent here is that this Hellcat owner wanted some more cool air into the engine bay and opened up the other side
Like with the tail lights, these cast clear resin inlets need a quick buff with some compound to have better clarity. For this, I simply chopped a Q-Tip in half, threw it into my Dremel chuck with the next extended about .5mm to give some space between the body and the metal chuck. If you feel even more anxious than I did, then perhaps a stout layer of tape in the upper and lower parts of the bumper or some electricians tape to save your sanity.
Installing the headlights is pretty simple too. All you need to do is remove the inner light from the kit assembly, and sand out the edges to isolate the outer headlight. Then using some steady hands place and glue it into the bumper. Now whether the bumper is accepting of the headlights or not I don’t know but I had a razor thin margin between perfect fit and headlight falling out so some steady hands and/ or a wax pencil to help keep the assembly in place during gluing is a must or at the very least HIGHLY RECOMMENDED!
When you have both side installed though, god…. it just looks so mean and evil. I definitely see where SRT’s designers were looking when they penned the new Challenger and monikered the Hellcat/ Demon name. Finish it off by adding the kit glass to the outer lights and the body is all done.


