Green With Envy
We last left off with the body fully primed, sanded and prepped for paint.
Moving into the spray booth my go-to airbrush for cars in the Mr.Hobby PS-290 with the fan tip. While more thirsty than other conical tipped .5mm airbrushes, it more than makes up for it with its atomization and wide fan spray pattern similar to larger HVLP guns used in the autobody industry.
You can find my review of it here when I was spraying another challenger in Plum Crazy Purple.
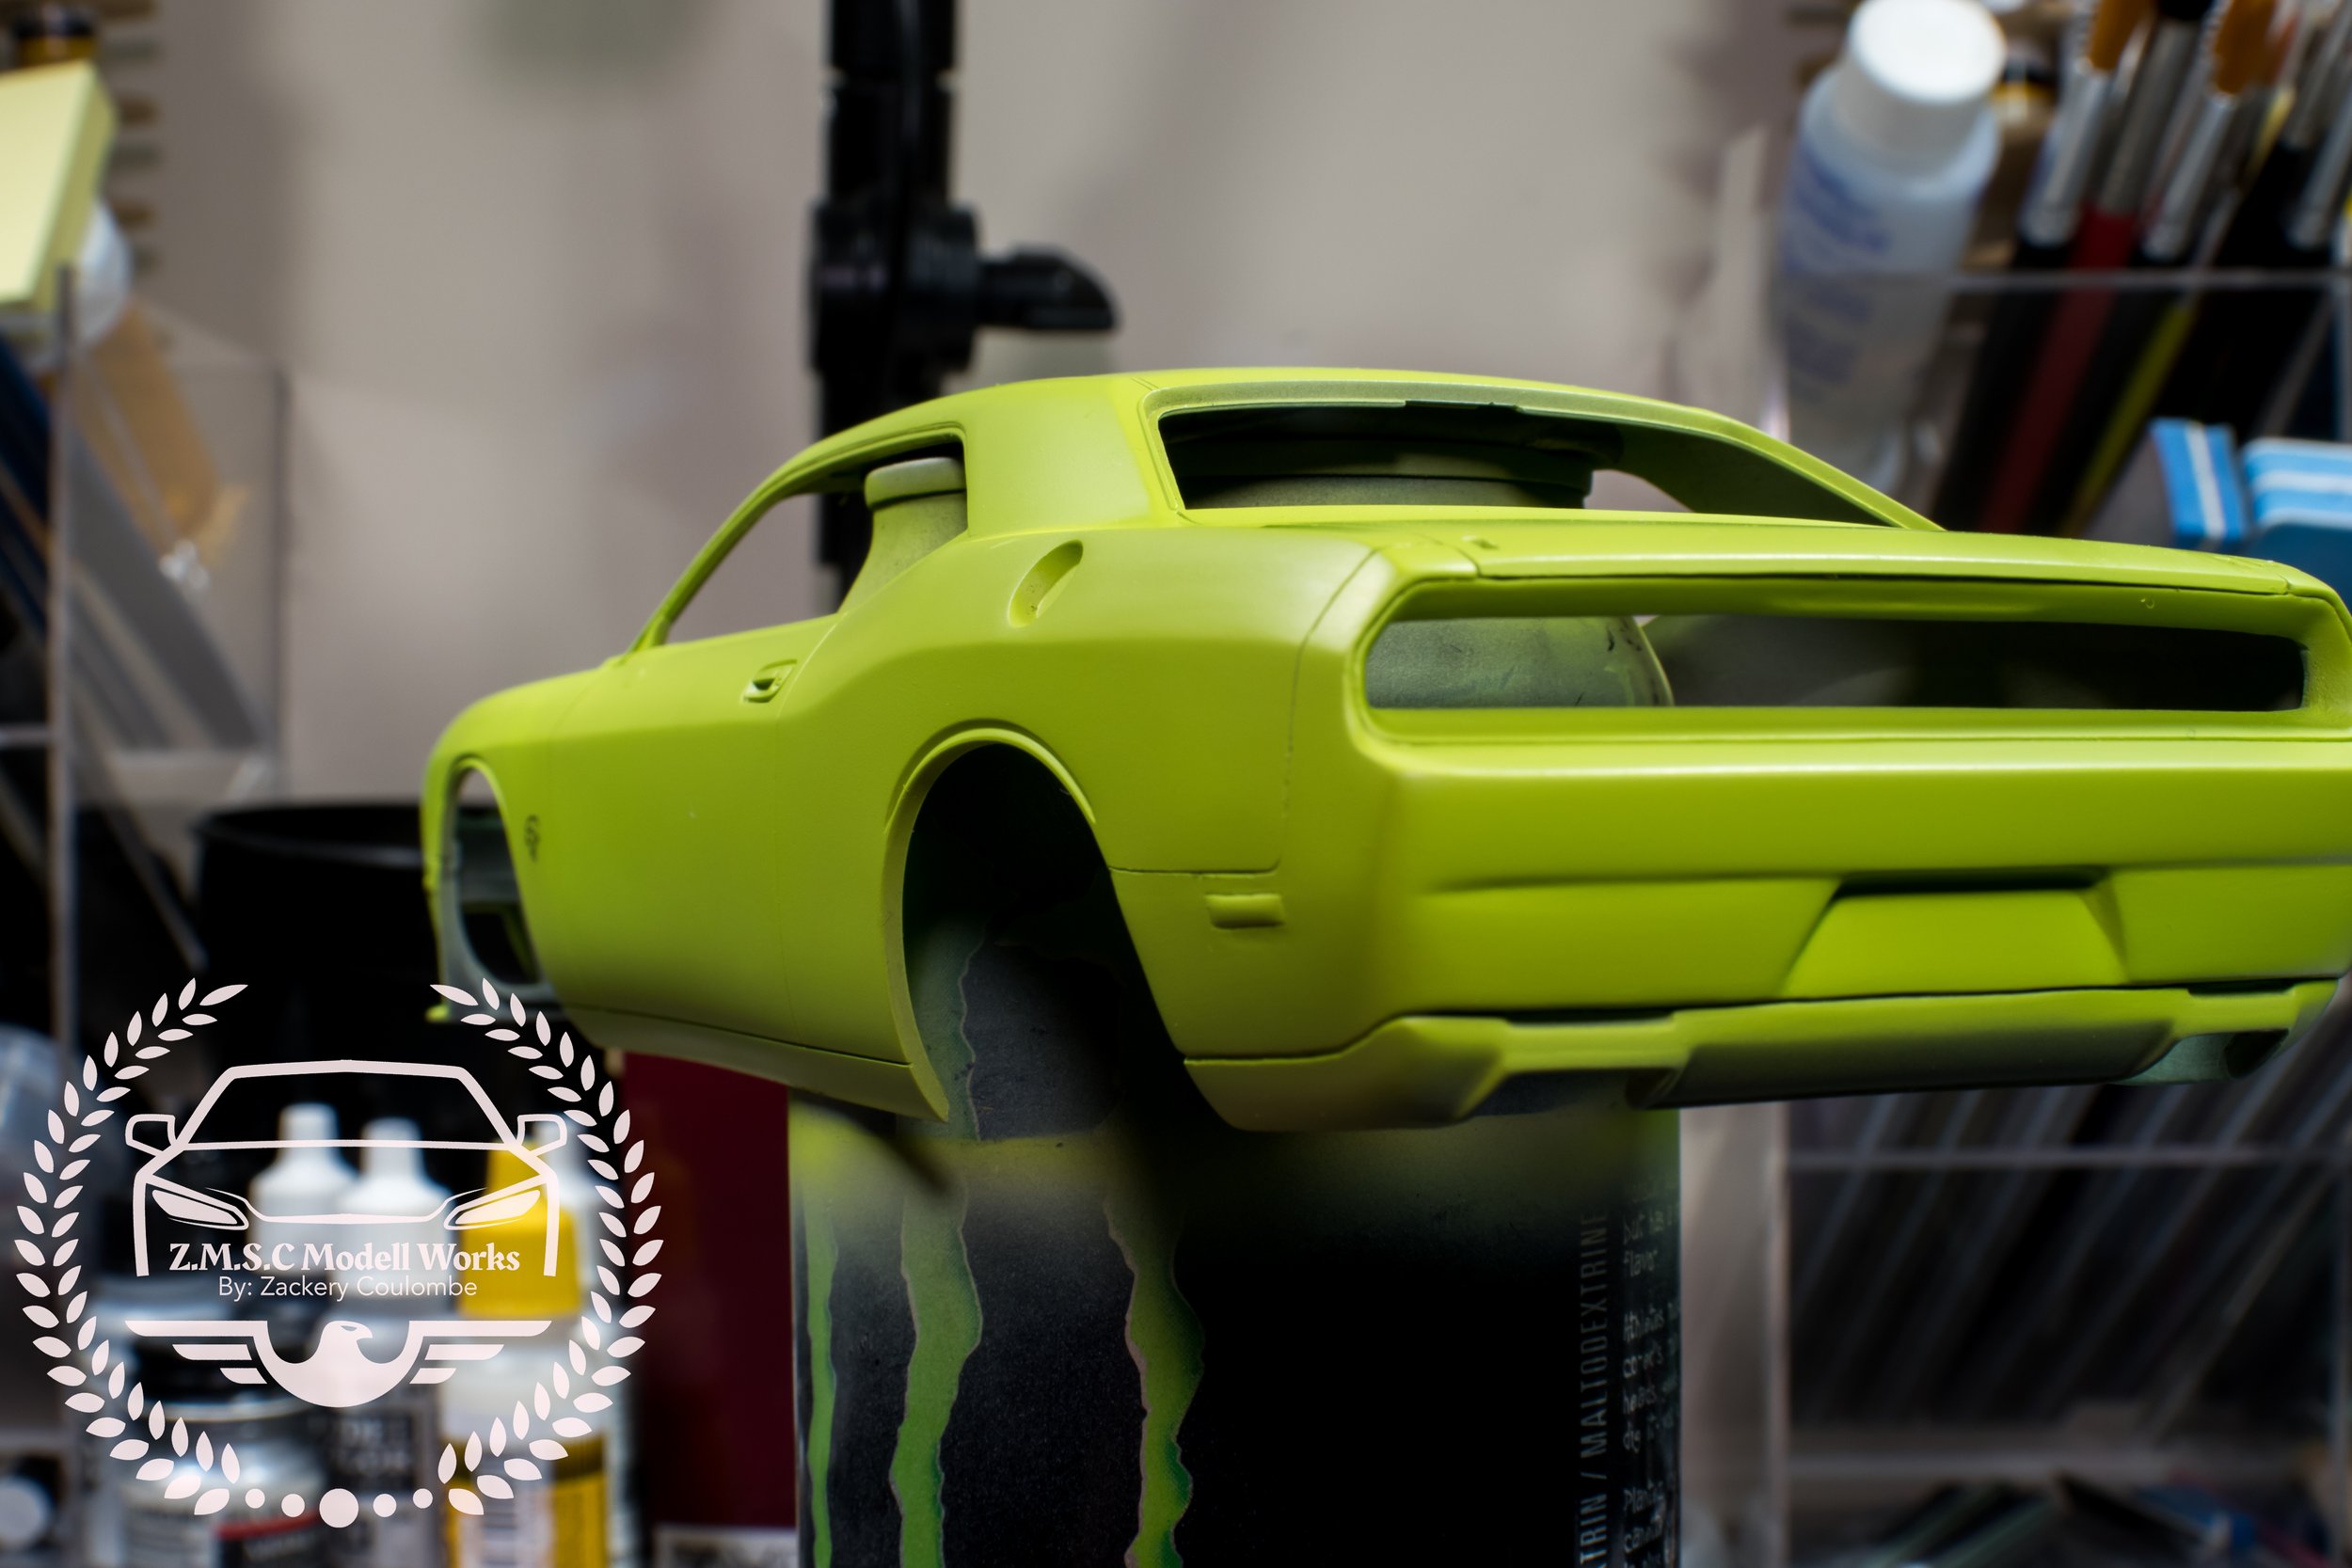
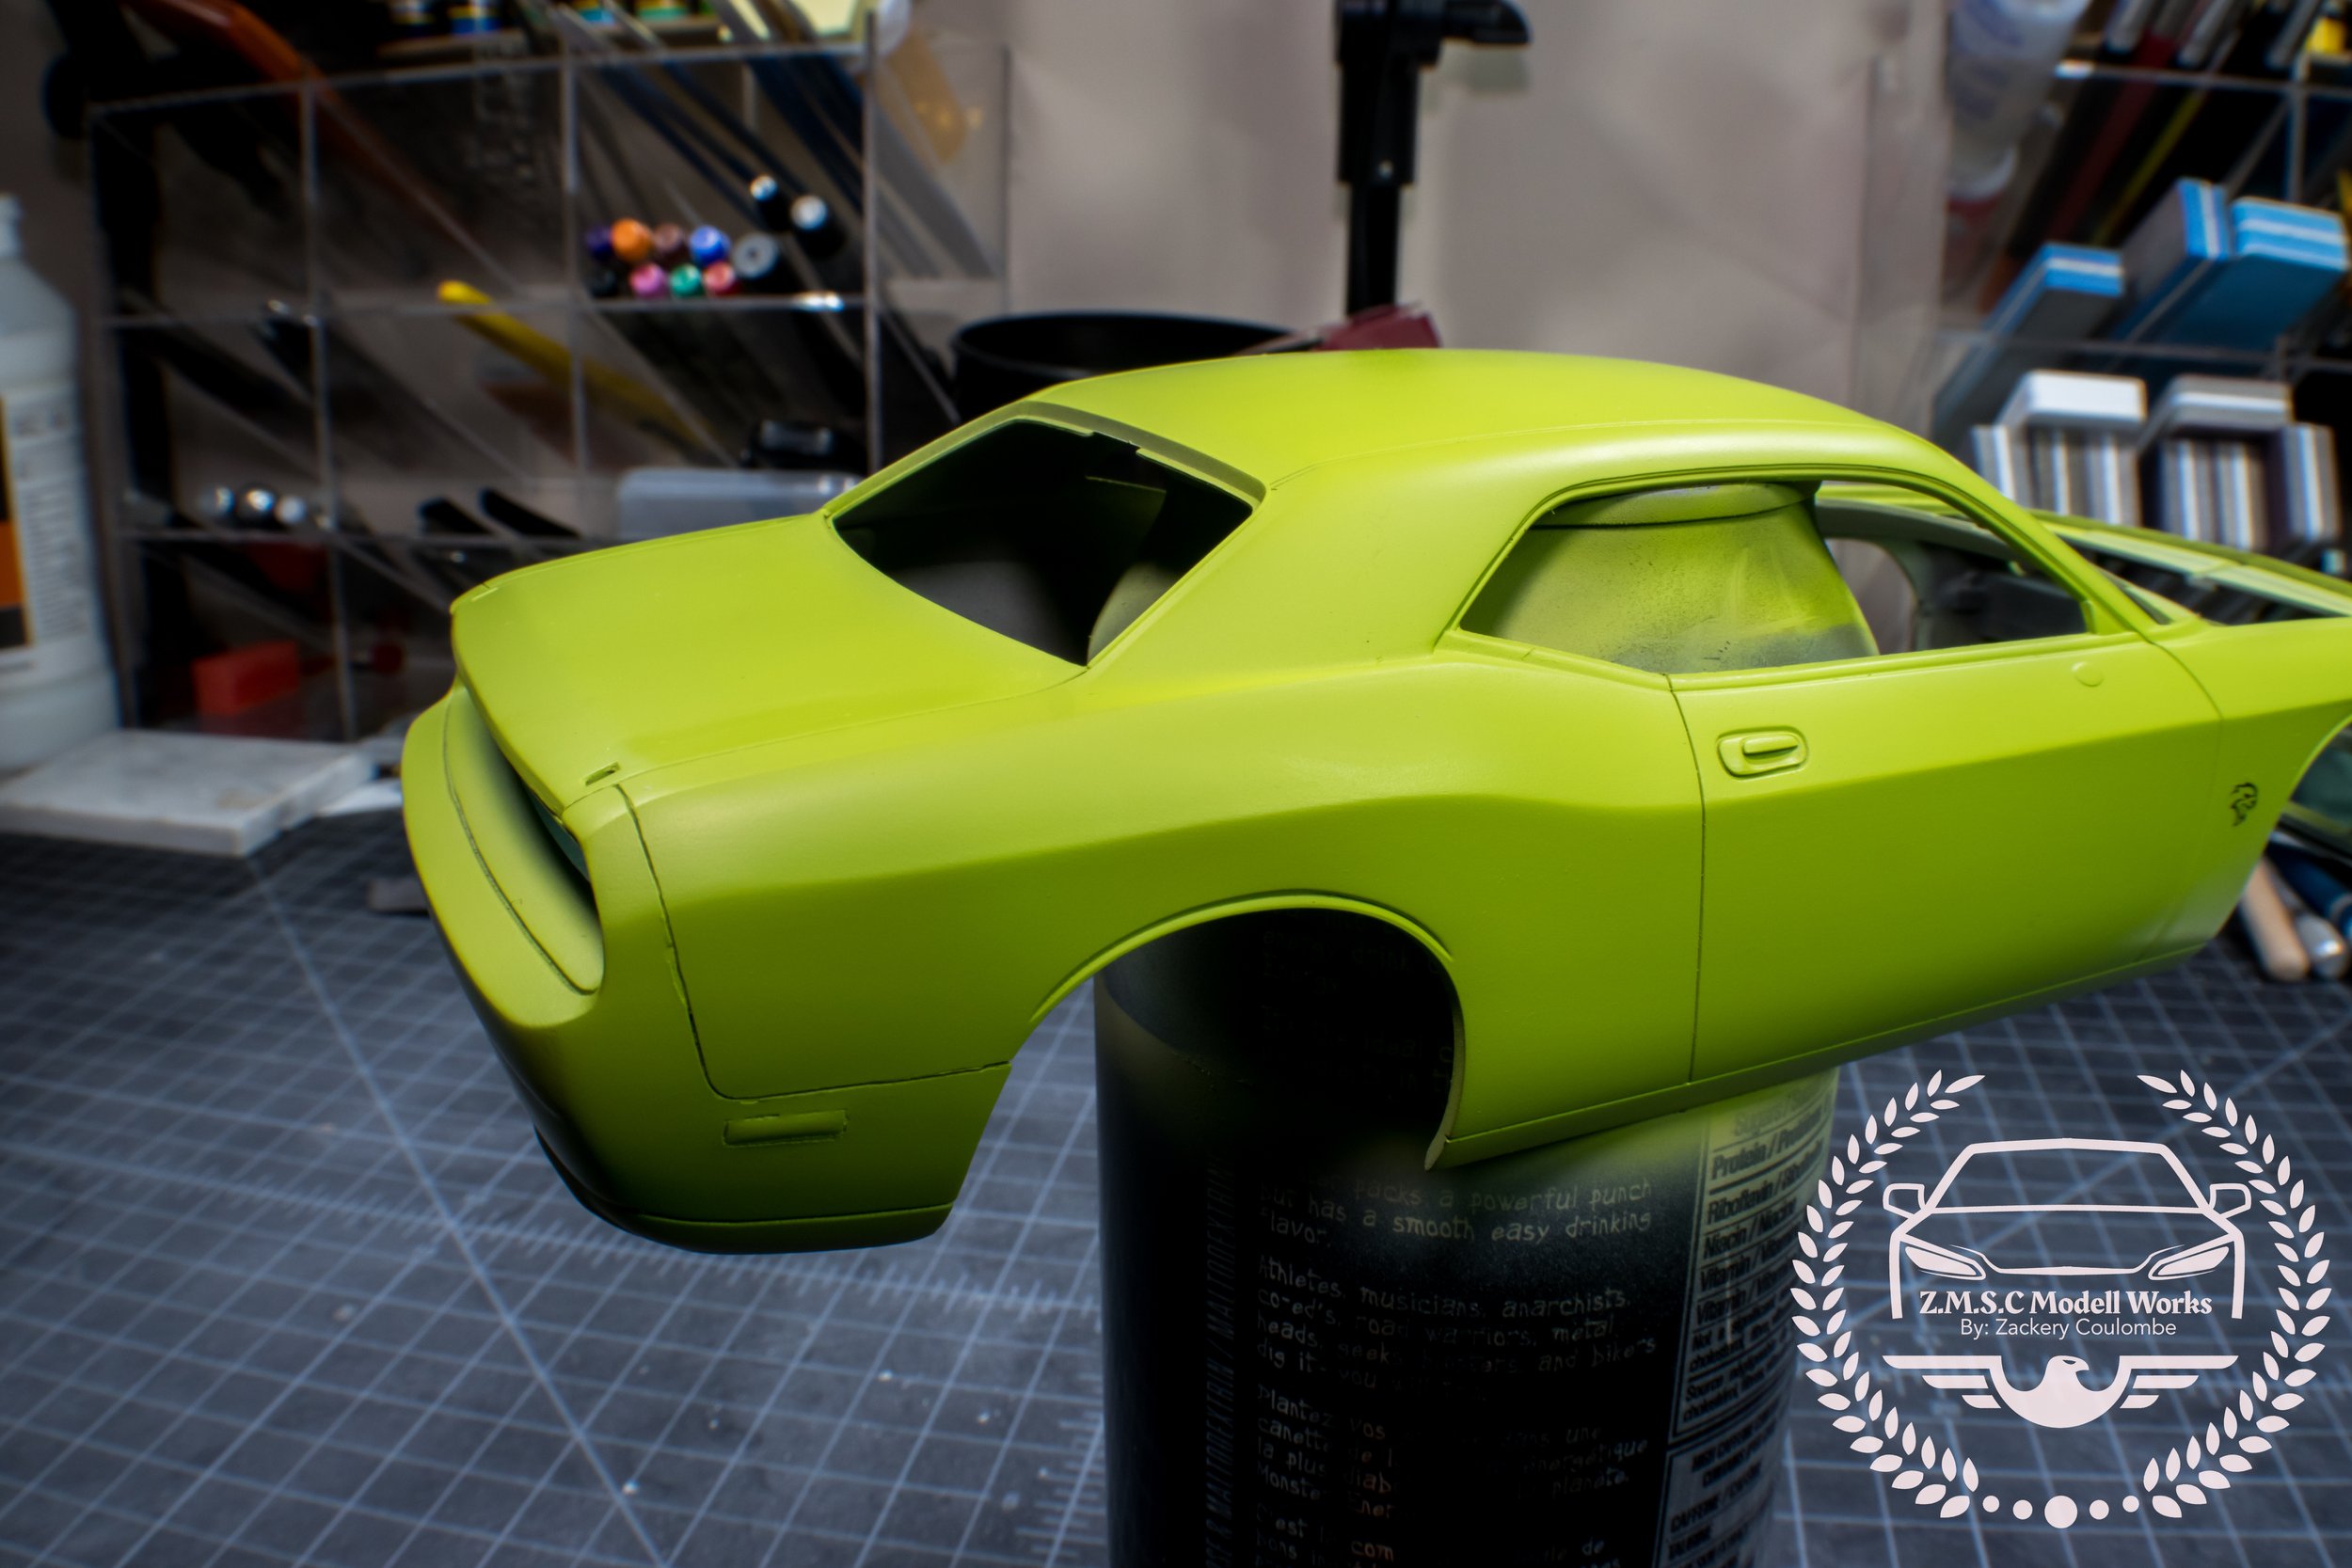
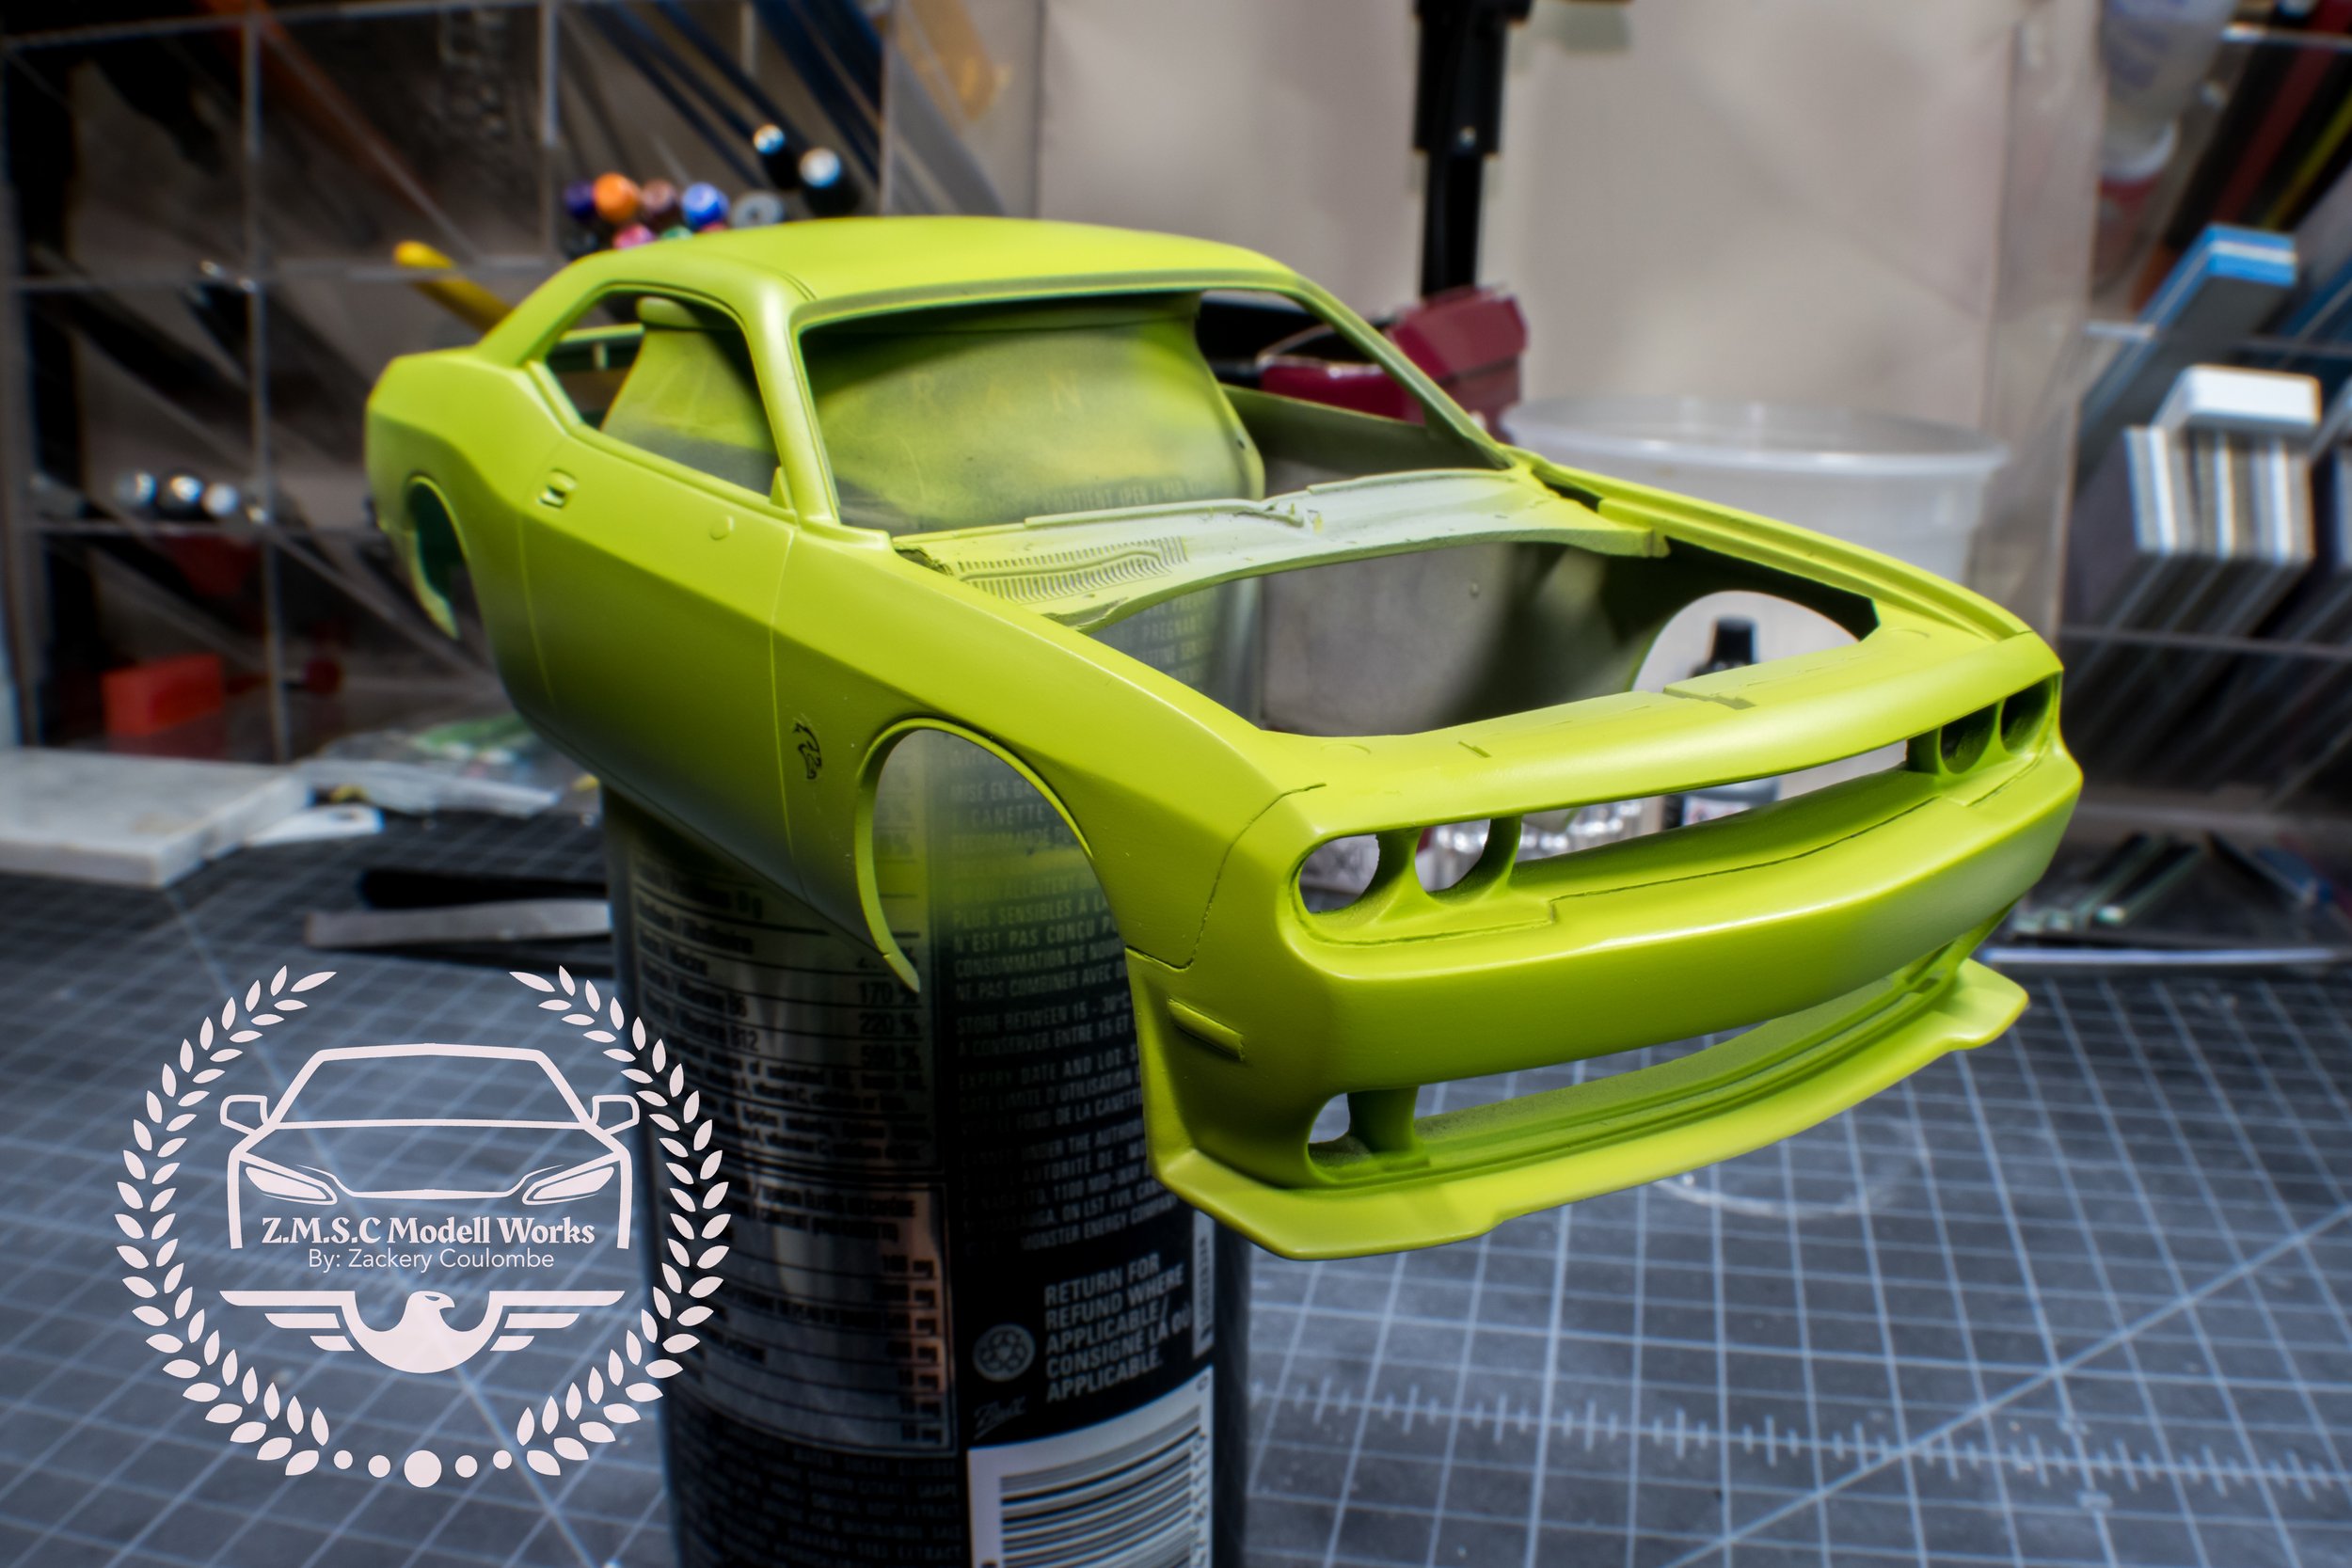
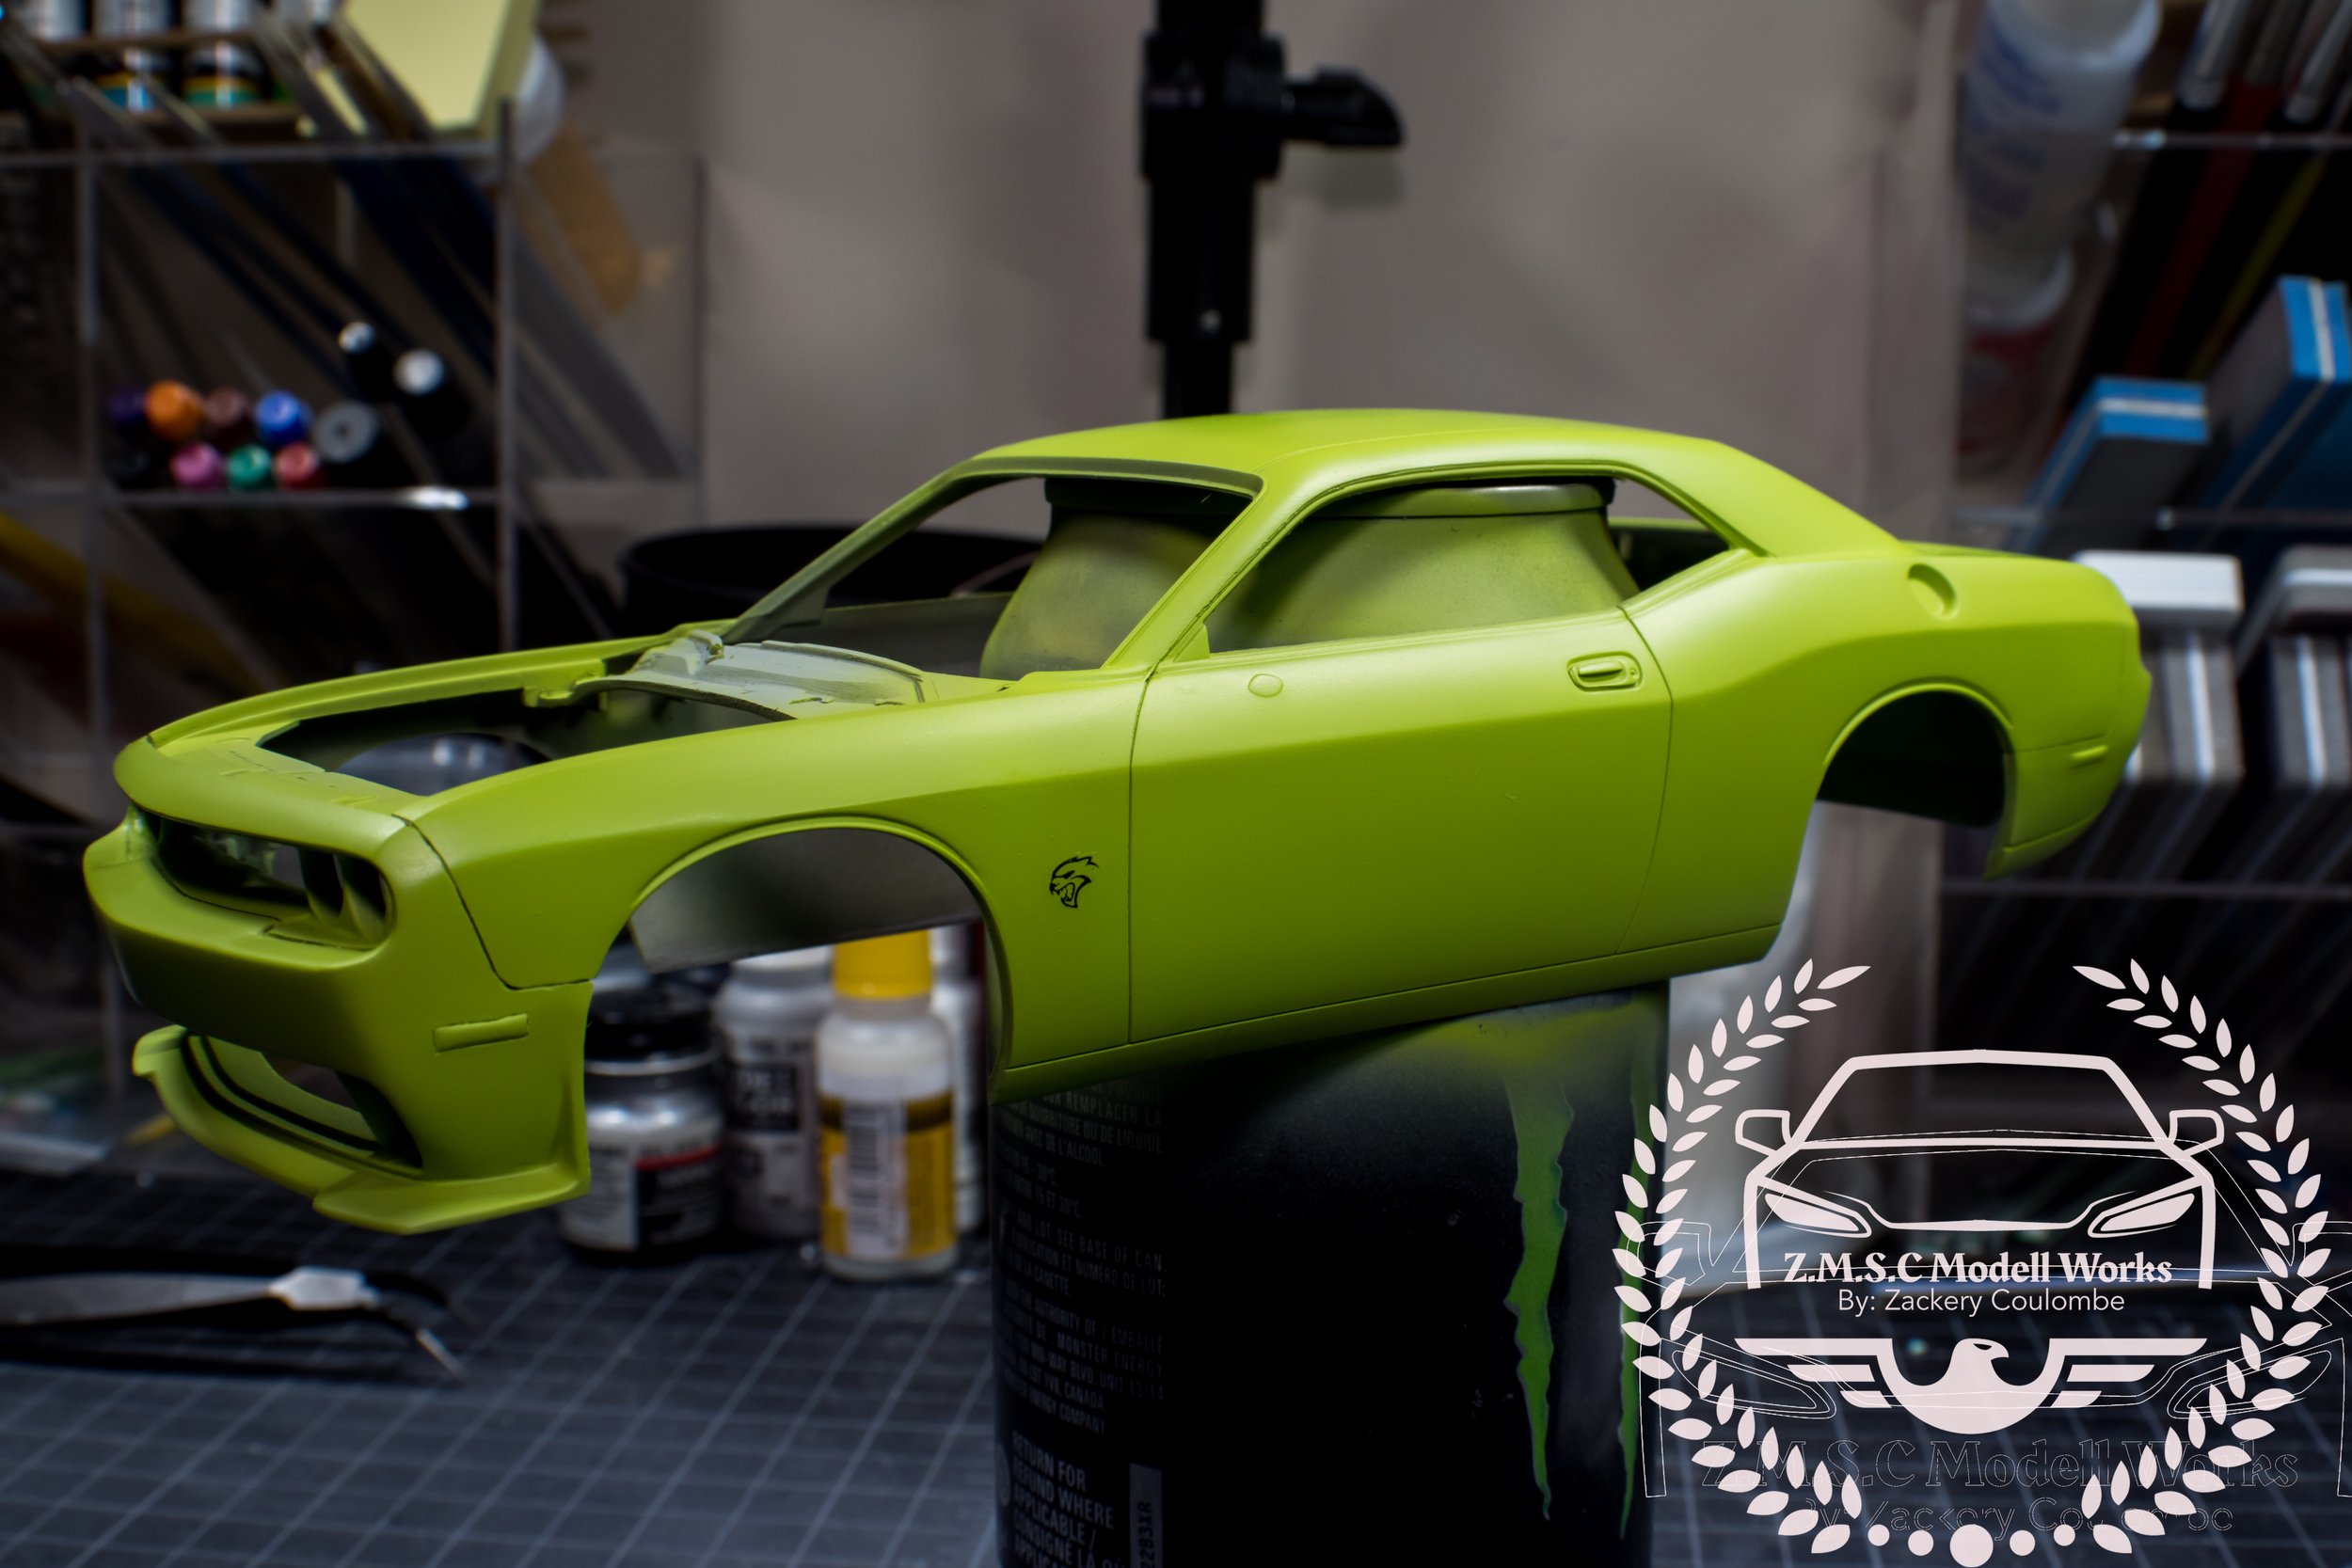
So sticking with the -290 I decided almost last minute to go from yellow to green. I felt the Charger Super Bee in Detonator Yellow was a fun color to shoot but I hadn’t done many green vehicles. Sub-Lime Green from Splash Paints it was. Working in the usual manner of many thin coats, with a 20 minute drying time between each coat resulted in probably one of the smoothest paintjobs I have accomplished to this day. Very pleased.


After final coats, I gave the body 24 hours to cure in a warm, dry place. Thankfully there aren’t many decals to worry about so only the Hellcat logo in black was added to the body.
Clearly Scale offers both the black, and a silver option depending on your color choice and options.
Once the body and decals had finished curing and settling, its onto the tedious job of clear coating. Now I wont go into the whole process here because I have mentioned it before in videos and other posts but I will be looking into doing a full series on how to choose, mix, spray, cure, sand, polish, and wax a clear coat in the future so be on the look out for that. For now you can see the difference between a raw spray ( out of the PS-290) on the left, +/- 20 hours of sanding in the middle, and a combined compound/ polish on the right. In total from spray to polish takes about 3 weeks for me (that’s with work and family time constraints along with the fact I take forever to perfect the body.
With the clear completed, I can now move on to the semi-gloss black accent pieces across the body, the largest piece being the hood. I decided to leave a few accent colors near the inlet and vents just for that added flair. The rest was fairly simple. Front splitter, running boards, rear lip, spoiler, front and rear valences and of course the window trim.


