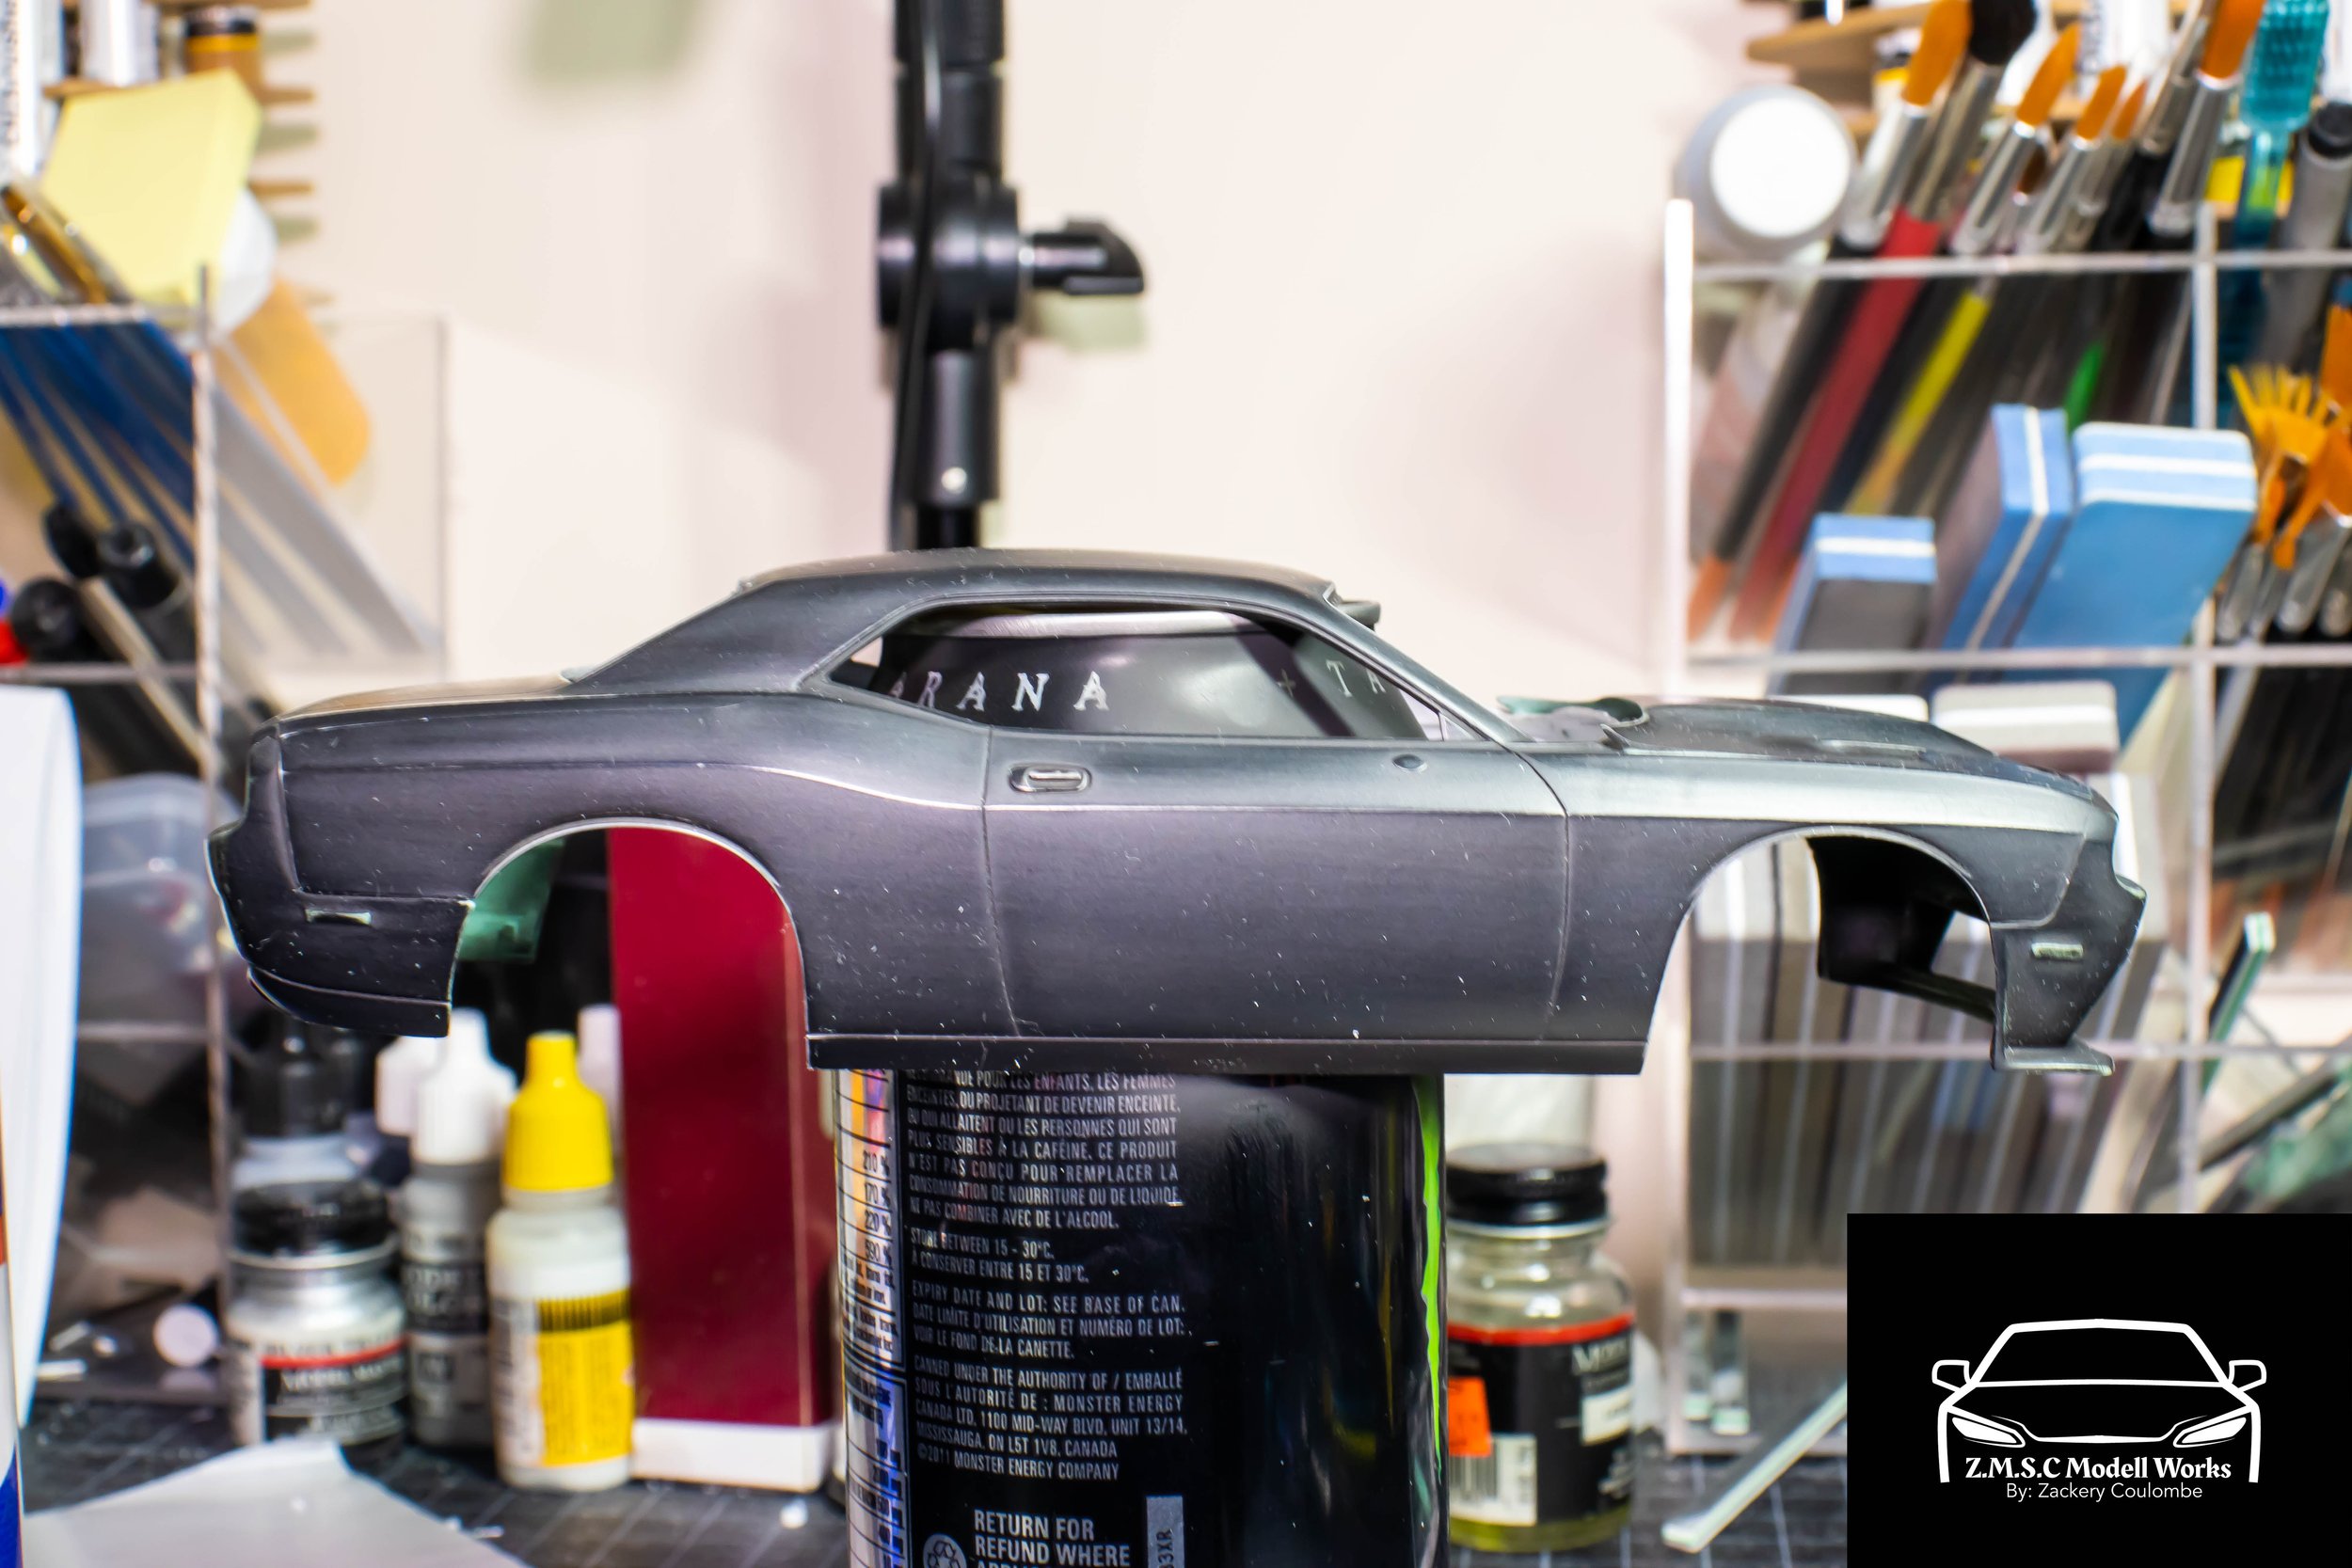
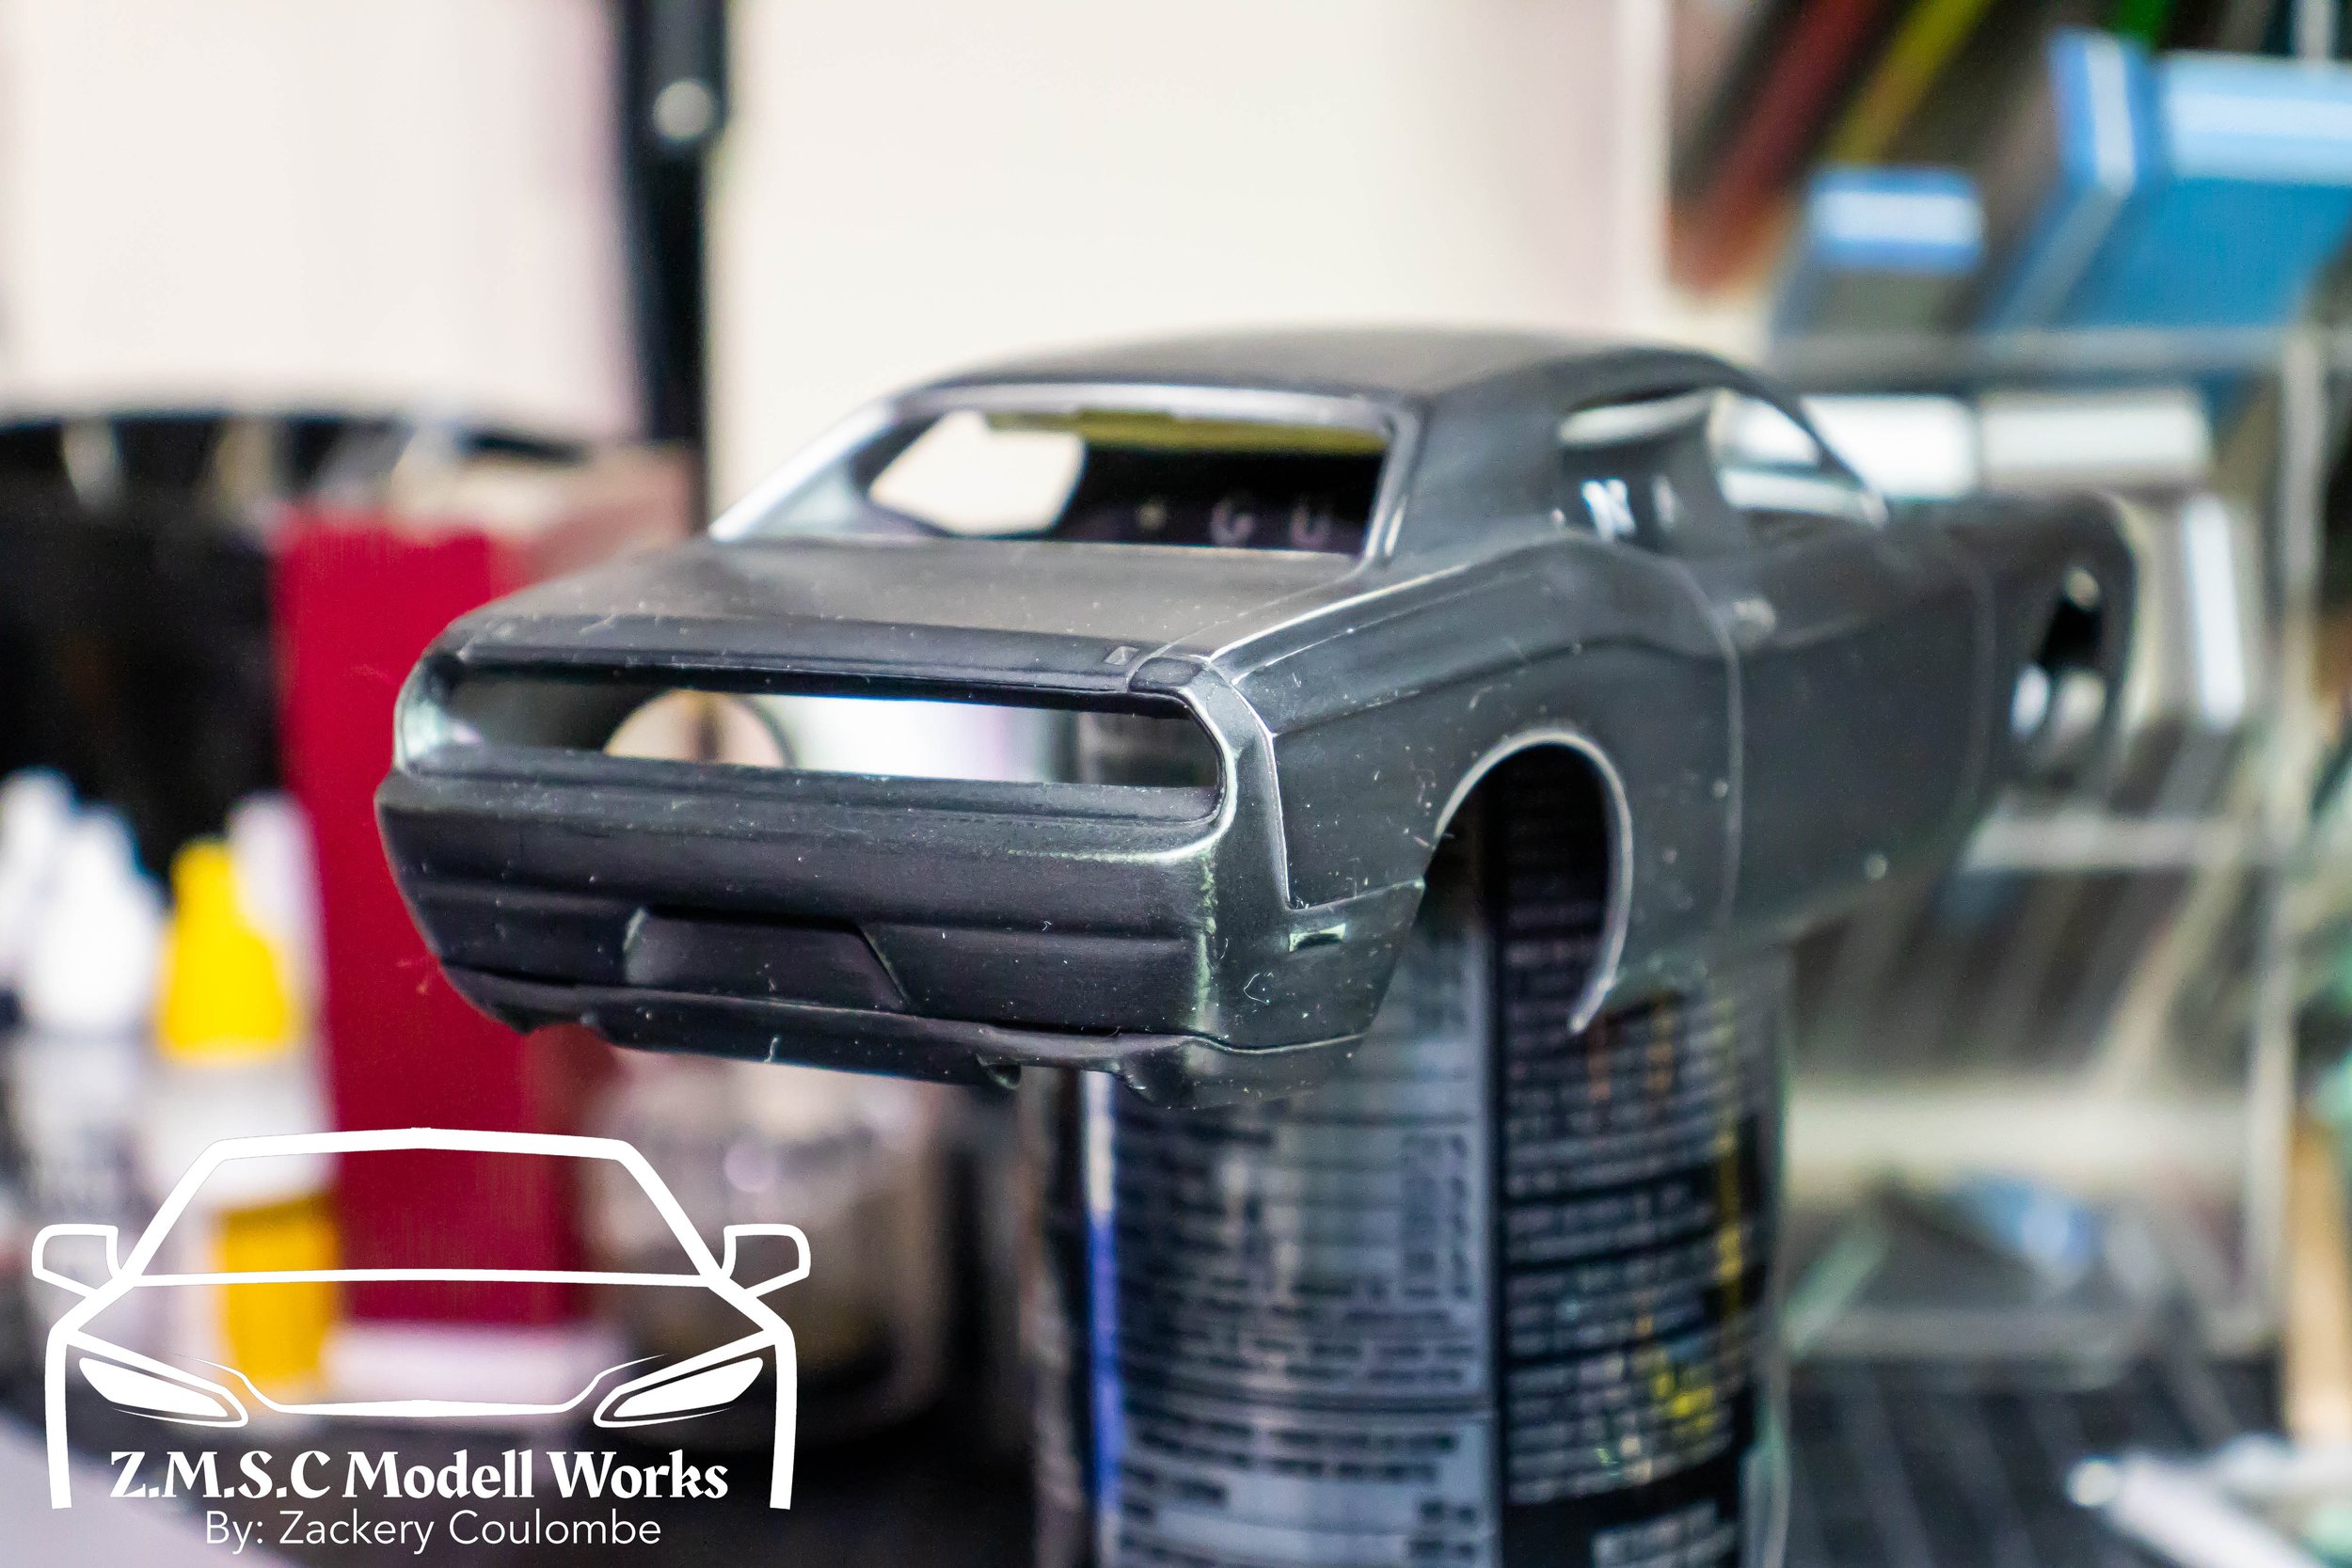
Sands of Hell
Ok so a little misleading but bear with me. We’re about tp do alot of sanding, priming, and sanding again. It will all be worth it in the end though I promise.
So if you didn’t read my previous post on the Clearly Scale ( CS for simplicities sake going forward) SRT Hellcat conversion kit, then I would encourage you to do so. This is so you understand why I do what I do, and how I do it, but why I keep this process in my arsenal for all of my automotive projects and commissions.
Alright so we left off with the body kit being installed, fitted to the best of our ( and the kit’s) abilities and awaiting primer. So why did I not go ahead and throw some Mr. Surfacer 1500 Grey down and call it a day? Well several reasons but like in the real world, not every surface is ready for paint right out of the workshop.
Likewise, not every body can go from the box to the spray-booth without any prep work. This is especially true for any conversion kits, ESPECIALLY ones that are 3D printed.
….I see a Challenger and it’s all painted black…..
Why Black? Why not just grey primer and call it a day? Lots of reasons. For starters, I think the world can universally agree that any car in black is beautiful, and any car in matte black has a certain level of intimidation to it, unrivaled by any other known color or shade in existence. Besides the temporarily aggressive good looks, it does serve a purpose. Those of you familiar with the auto body world may know this as a “Guide Coat". A Guide Coat is either a straight black primer, or a lightly misted coat of black paint, applied to the body after its initial primer coat.
For us modellers it seems a little unnecessary to spray a gray, and then a black. Thankfully we already have black primers, doubling as fillers, available to us cutting the work in half. So there we go Step 1: Black primer/ filler coat/ guide coat.


So what exactly is the point of all this hubub then? Well for starters. The issue with injected molded plastics is that they tend to use a two-part mould system. Not every mould is perfect, and not every kit manufacturer creates the moulds the same. Often ( pretty much 99.999% of the time) you will get these things called “Mould Lines”. Some might call them by various different names but I call them that. What they are is essentially the physical manifestation of the gap where two halves of a mould join. Sometimes they can be well hidden within the contours of the body, other times they are smack dab in the middle of the body surface or in a some wretched place only a pixie could reach with a sanding sponge to remove. Alas its present and we must deal with it.
The joys of black primer is that it creates a very good, stark contrast of the body to the black paint. I don’t know of many kit manufacturers that use black plastic but they are very few so black works most all the time (HINT: if the plastic IS black, use white ). When sanding, any high spots will show the plastic or resin surface, and any low spots will remain black. Take a look at the gallery below and it should make clear what I mean here.
Now obviously we aren’t going straight to a 220 grit pad and knocking down the primer till we see bare plastic/ resin. What you want to do is actually start with something a bit higher. In this case here I used a 1000 grit sponge from INFINI Model. I like they’re range of pads and sticks, as well as the consistency of the grit.
Using our 1K sanding pad, lightly go over the whole body. Every nook and cranny that you can effectively reach or would catch the eye if a blemish occurred. The goal here again is not to get rid of the black but highlight or “Guide” your eye and attention to those imperfections. Yes, you could use a grey primer, but I would argue that a color that does not stand out as much would lead you to miss minor imperfections that could show later in the color process. Hence why I like black.
Lets take the driver’s side door here for example. After the 1K grit pass we can see several large (in scale) imperfections in the body.
Circular divot in the door
Caved in edges around the door frame and side skirts
A mould seem line on the upper front fender, carrying onto the A pillar
Multiple low spots and strakes along high area features and body lines.
With this eye in mind, have a look at the driver’s rear quarter panel.
What you can see wrong with it?
Take a minute to carefully look it over.
See what I mean?
Now some people may say that its too much work and would be overlooked at that miniscule level at any IPMS competition. Sure it may, but compared to the guy doing the exact same thing wouldn’t you want to be a step or level ahead? If we spend all this money on a model, paints, resin etc. Wouldn’t you want to make your money go further and do better? This process while intensive, leads to better work which I think I can say we all strive to be better at this hobby.
Also to note an mention, remember what I said about the body sitting high in some places and low in others? Take a look at the bumper. Notice all that black on the delineation point between the green resin and white plastic? Well that’s showing us that particular area of the bumper is not flush with the body. Those low spots I was talking about.
There are multiple ways around this problem. One might choose to sand it away with something more heavy, While that could work on small things like this, it may cause sanding marks to be visible after primer. Another go-to option is body filler or putty. Another good choice for some deeper knicks and divots sure, but keep in mind that depending on the putty used, it may shrink over time and still not be level with the surface. One of my other favourite options is to is a liquid putty or a paint ( like Mr. Surfacer 500 or tamiya putty thinned with lacquer thinner) with a larger micron of pigment that builds up the area. This too has drawbacks in that while it may be great for small scratches or shallow lips, it may take multiple coats and sanding passes to get it to a satisfactory level. Apply, spray black, sand, reassess, repeat as needed. It takes time but is the most effective method and doesn’t leave heavy sanding scratches or shrink over time. It just takes….time.
I chose to sand my way .
I chose the sanding method as I needed to keep proficiency, otherwise I would have gone the Mr. Surfacer 500 route.
Here you can see I’m at about 50% of the way through the body but is a night and day difference from before. I used the same INIFI Model brand of sanding sponge but moved to 600 grit and did it with a wet sand. There are pros and cons to wet vs. dry sanding which I am not going to go over here much but suffice to say it keeps the sanding sponge cleaner here and keeps the resin dust down.
Working is a criss-cross pattern keeps the grain even and much easier to manage on the subsequent primer coats. It also helps identify whether you’ve knocked the grit back enough when you move up to say a 1000 or 1500 grit. Rather than do say a 400 grit and knock everything back quickly, I prefer to take my time and slowly get the body where I want it. This can help in multiple ways but biggest ones are keeping the fine detail fine, and keeping key body lines there rather than completely destroying them. Leading to more body work you don’t need.
So after all of that priming, sanding over, and over, and over, AND OVER. We arrive here. Primed. After my initial black prime + fill. I will do a coat of Mr. Surfacer 1000 thinned with straight lacquer thinner, and then knock that back with 1000 grit. Ill then apply another coat of MS1K, sand down with 1500grit, and finally finish it all off with some MRS 1500, thinned 50/50 with Mr. Leveling thinner and leave it for approximately 24hrs at a stable temperature of 24C ( thankfully I have an indoor and climate controlled environment).


